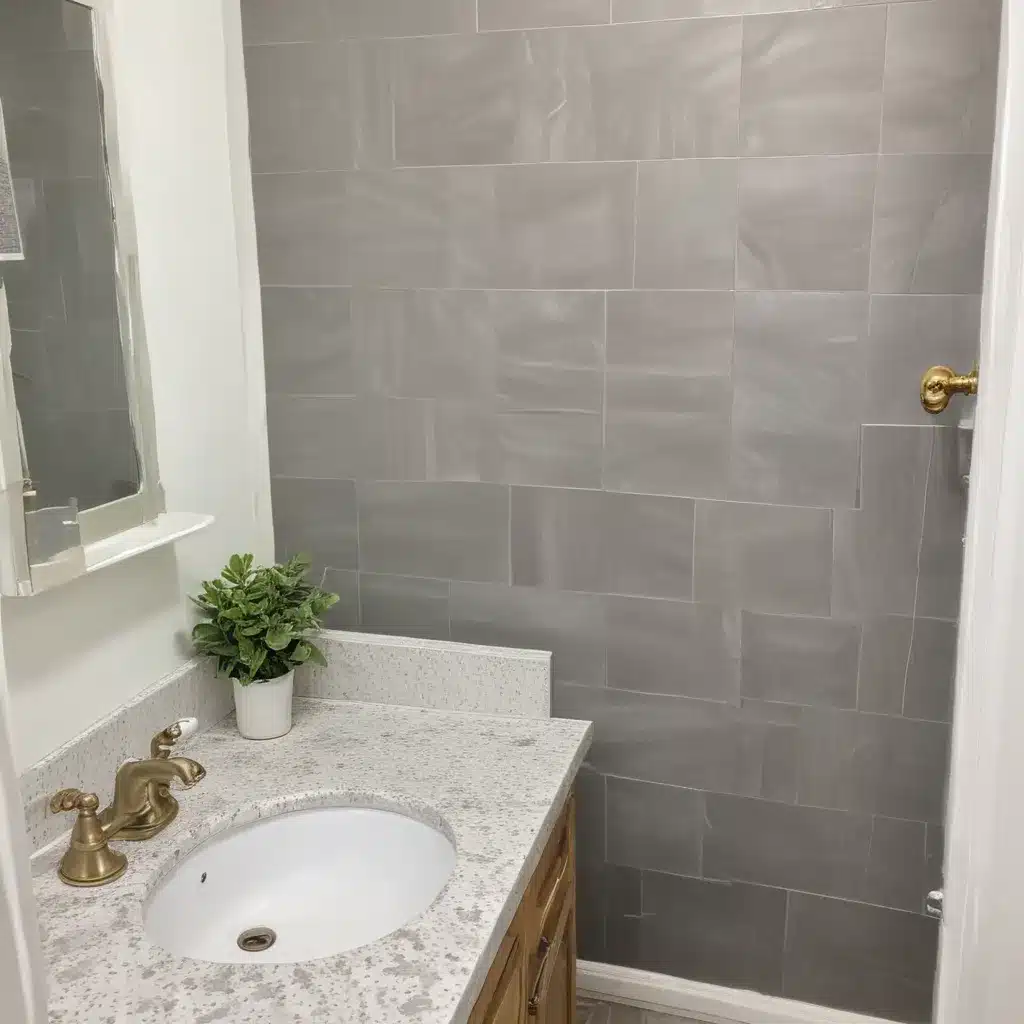
When my husband and I bought our 1940s fixer-upper in Aberdeen, I knew the tiny bathroom upstairs was going to be a challenge. The dated, dingy ceramic tile had seen better days, and I was dreading the prospect of a full-scale renovation. But then I stumbled upon the magical world of peel-and-stick vinyl tile, and suddenly, a bathroom refresh didn’t seem so daunting.
Choosing the Right Tiles
As I perused the options online, I was drawn to the hexagonal style tiles from Lowe’s. Not only did they have a modern, yet classic look, but the fact that they were “groutable” piqued my interest. I liked the idea of being able to achieve a more realistic, tiled appearance without the hassle of traditional grout.
After reading rave reviews on Reddit about how easy these tiles were to install, I decided to take the plunge. I may have been a “beginner-ish” DIYer, but I figured with a little patience and elbow grease, I could transform our sad little bathroom into something special.
Preparing the Space
Before I could start laying the tiles, I knew I needed to do some prep work. The existing ceramic tile was in rough shape, with cracks and uneven grout lines. As recommended by other peel-and-stick tile enthusiasts, I decided to fill in those grout lines with a self-leveling compound to create a smooth, even surface.
With that tedious task out of the way, I gave the floor a thorough cleaning, making sure to remove any lingering dirt or debris. I didn’t want anything compromising the adhesive on those precious tiles!
The Installation Process
As I laid out the first few tiles, I made sure to heed the advice I had read online. Instead of starting in the corner, I strategically placed the first tile in the middle of the room and worked my way outwards. This helped ensure that I wouldn’t end up with awkwardly small slivers of tile along the edges.
The peel-and-stick application was a breeze, but to give the tiles an extra dose of staying power, I followed the recommendation to use a Gorilla Glue spray adhesive. I didn’t want to risk any corners peeling up down the line.
Cutting the tiles to fit around obstacles like the toilet and vanity was a bit trickier, but by using the paper backing as a template, I was able to achieve clean, precise lines. And those heavy-duty scissors I splurged on? They were an absolute lifesaver!
The Grouting Conundrum
When it came time to grout the tiles, I hit a bit of a snag. The charcoal color I had my heart set on was nowhere to be found. But ever the resourceful DIYer, I decided to get creative and try using a sanded caulk instead.
While the caulk did the trick, I won’t lie – it required a bit more work and patience than traditional grout. But in the end, I was thrilled with the sleek, modern look it achieved.
The Finished Product
After two weekends of focused effort (and a few minor setbacks), I stepped back and admired my handiwork. The bright, white tiles instantly breathed new life into the space, making the bathroom feel so much bigger and brighter. And that hexagonal pattern? Swoon.
Sure, it’s not quite the same as real tile, but for a fraction of the cost and time investment, I’d say these peel-and-stick beauties are an absolute game-changer. No wonder the team at ABC Home & Renovations in Aberdeen swears by them!
If you’re contemplating a small bathroom refresh but dreading the mess and expense of a full renovation, I can’t recommend peel-and-stick tiles enough. With a little creativity and elbow grease, you can transform your space in a weekend. Trust me, it’s worth it!


