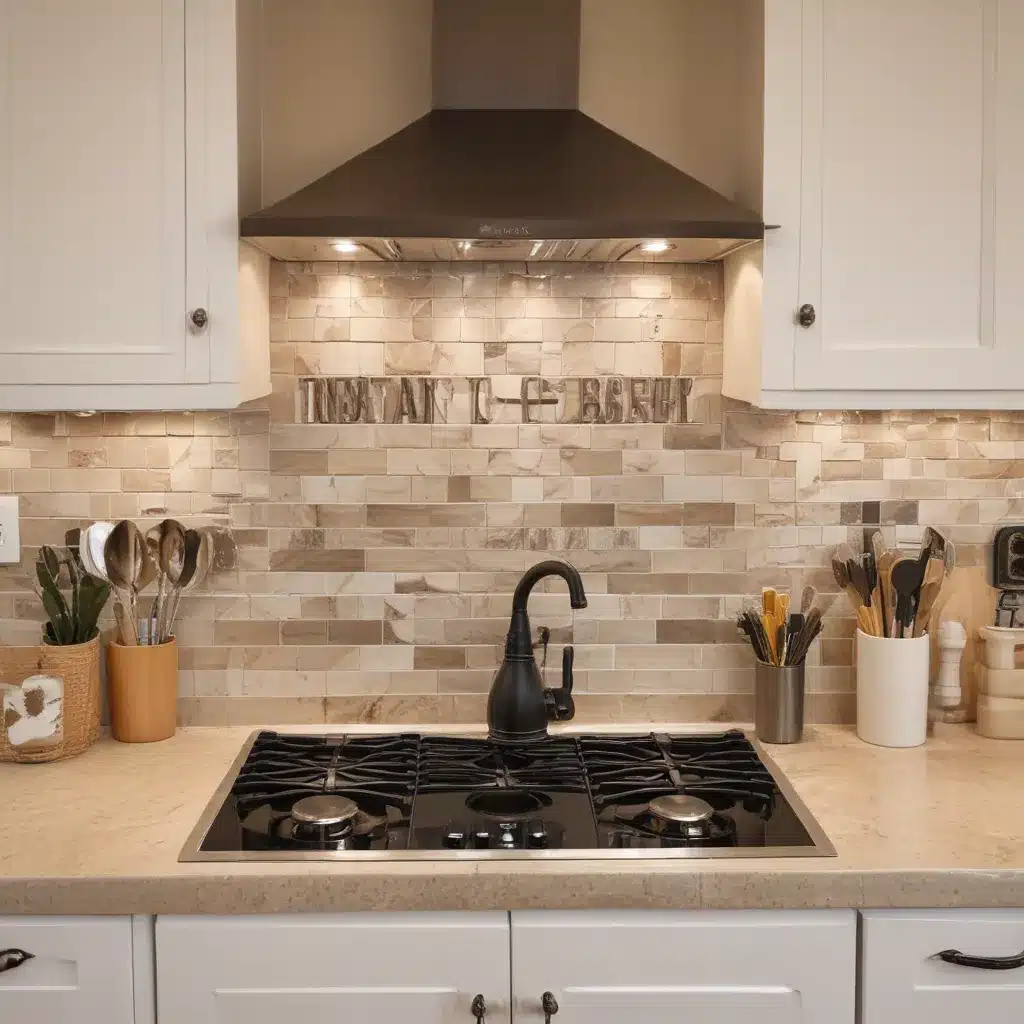
The Transformation of My Kitchen
I’ll never forget the day I decided to tackle the backsplash in my kitchen. I had been living with the same tired, outdated tile for years, and it was really starting to bother me. The plain white squares just seemed so… boring. I wanted something that would really make my kitchen pop and give it a fresh, modern look.
So, I did what any self-respecting DIY enthusiast would do – I jumped on the internet and started researching backsplash ideas. I scrolled through endless Pinterest boards, watched tutorial videos, and even consulted the Reddit home maintenance community for advice. And let me tell you, the options were overwhelming! From subway tiles to glass mosaics, there were so many directions I could go.
One video in particular really caught my eye. The homeowner had transformed their dated kitchen with a stunning herringbone backsplash, and the results were just stunning. I knew that was the look I wanted to go for.
But then came the next hurdle – actually installing the thing. The Reddit thread I found warned that I might need to do some wall patching first, which sounded like a major headache. And the YouTube tutorial made it look a lot easier than it probably was in reality.
Still, I was determined to make it happen. I wanted that fresh, updated look, and I was willing to put in the work to get it. Little did I know, that work would end up being a lot more fun and rewarding than I ever could have imagined.
Choosing the Perfect Backsplash
The first step in my kitchen transformation journey was, of course, selecting the perfect backsplash. I knew I wanted something that would really make a statement, but I also wanted it to complement the existing finishes in my kitchen.
After scouring the internet and making a few trips to the local tile showroom, I finally landed on a stunning herringbone pattern in a mix of glass and ceramic tiles. The neutral tones would work beautifully with my white cabinets and granite countertops, but the interesting texture and subtle shimmer would really elevate the space.
Of course, choosing the tiles was only half the battle. I also had to decide on the layout and configuration. Should I go for a classic straight herringbone pattern, or maybe try something a little more dynamic, like a chevron design? And what about the grout color – should I go for a stark white, or something a little more subtle?
It was a tough decision, but in the end, I settled on a classic herringbone layout with a medium-gray grout. I wanted the tiles to be the star of the show, and I felt like a white grout might have been a bit too stark and distracting.
The Installation Process
With my backsplash tiles selected and ready to go, it was time to tackle the installation. Now, I’ll be honest – I was a little nervous about this part. I’m no professional tile setter, and the idea of having to cut and fit the tiles around all the outlets and cabinets was a bit daunting.
But then I remembered the video I had watched, where the homeowner had hired a professional tile installer who made the whole process look like a breeze. And after reading the Reddit thread, I knew that proper wall preparation was key to a successful backsplash installation.
So, I took a deep breath, gathered my tools, and got to work. First, I patched any cracks or imperfections in the wall behind the countertop, making sure the surface was smooth and level. Then, I applied a generous layer of thinset mortar to the wall, carefully pressing each tile into place and adjusting it as needed.
The hardest part, by far, was cutting the tiles to fit around the outlets and the edges of the countertop. I had to break out the wet saw and really take my time to get those cuts just right. But with a little patience and a lot of concentration, I managed to get it all installed without any major mishaps.
The Finished Product
When the last tile was finally in place and the grout had dried, I stepped back and admired my handiwork. The transformation was nothing short of amazing! The new backsplash completely changed the entire look and feel of my kitchen, giving it a fresh, modern vibe that I absolutely love.
The herringbone pattern adds such a lovely sense of movement and texture to the space, and the mix of glass and ceramic tiles catches the light in the most gorgeous way. And that gray grout? It’s the perfect complement, tying everything together seamlessly.
Honestly, I can’t believe I waited so long to tackle this project. It was a bit of work, to be sure, but the end result is more than worth it. Now, whenever I walk into my kitchen, I feel a sense of pride and joy. It’s like I have a brand new space, all thanks to a simple backsplash update.
The Takeaway
If you’re looking to give your kitchen an instant facelift, I highly recommend considering a backsplash update. It’s a relatively easy and affordable project that can make a huge impact on the overall look and feel of the space.
And don’t be afraid to get creative with your tile selection and layout. Herringbone, chevron, subway – the options are endless! Just take the time to really explore your options and find the perfect design that speaks to your personal style.
Of course, the installation process can be a bit tricky, especially if you’re not an experienced DIYer. But with a little bit of preparation and patience, you can absolutely pull it off. And the sense of accomplishment you’ll feel when you step back and admire your handiwork? Totally worth it.
So, what are you waiting for? Head on over to ABC Home and start planning your dream backsplash today!


