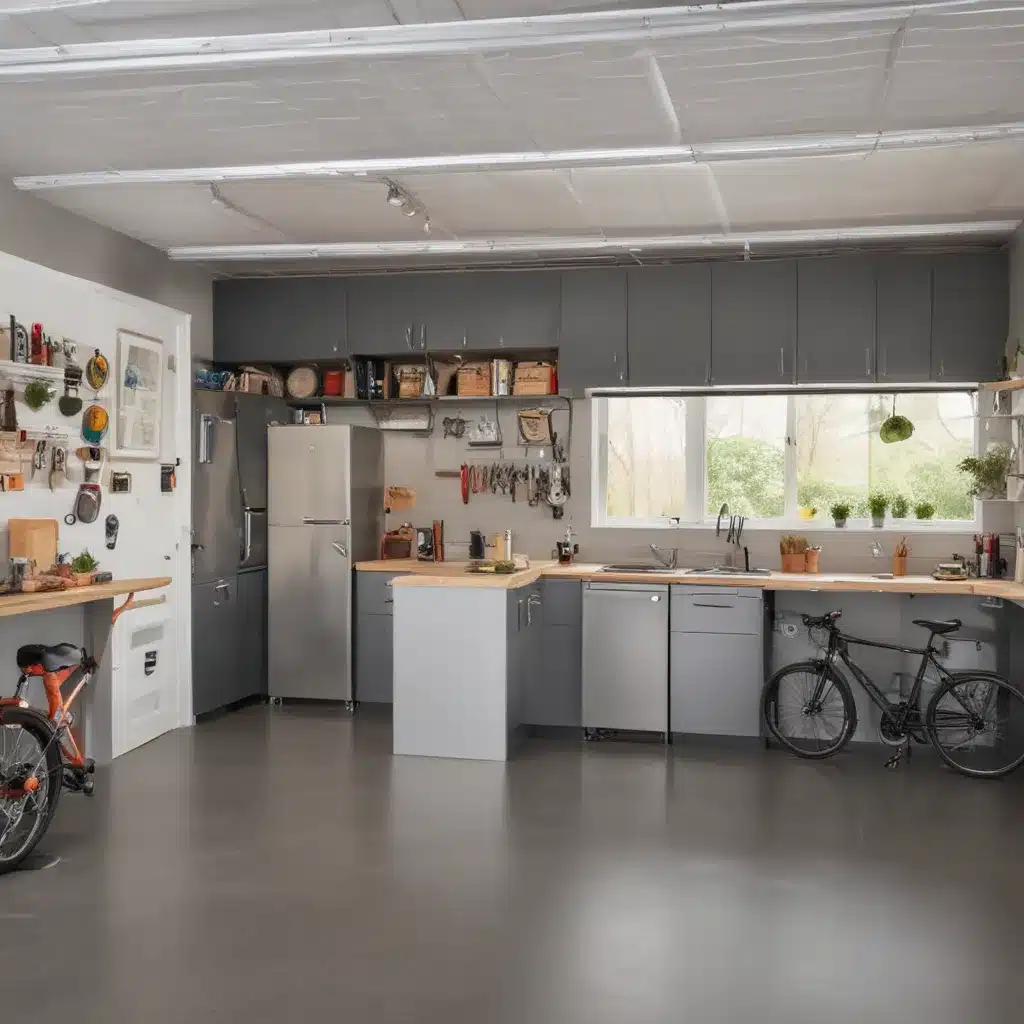
The Garage Conversion Journey
I’ll never forget the day my husband, Craig, first suggested we convert our garage into a bedroom and bathroom. I brushed him off, thinking it sounded like a huge undertaking. But when I found out I was pregnant and our two-bedroom house was going to feel pretty cramped, I started to warm up to the idea.
What started as a simple sketch on the back of a napkin turned into a beautiful, functional new space that we built from the ground up. Today, I’m excited to share the full details of our garage conversion journey – from the initial planning to the finished product. By the end, I hope I can inspire you to take on a similar project and transform your own garage into the living space you’ve been dreaming of.
Preparing the Garage
The first step was prepping the garage to become an indoor living area. We purchased a shed to put in our backyard for extra storage, which allowed us to clear out the garage. Despite what some people asked, we actually didn’t have that much stuff in there to begin with. Anything that was left, we were able to neatly fit into the shed or our basement.
With the garage cleared out, we turned our attention to the subfloor. Craig determined that the existing concrete slab was structurally sound, so he built a new subfloor on top of it using 2x10s and a main beam down the center. He used a laser level to perfectly match the new floor height with the existing floors in the house. After insulating the subfloor, Craig laid down 3/4″ tongue-and-groove plywood, gluing it to the framing.
Next, Craig removed the existing ceiling joists and collar ties, replacing them with three 2×10 support beams to create a lofted ceiling. This open, airy design was exactly the look we were going for.
Constructing the New Living Space
Once the framing and subfloor were in place, it was time to start building out the interior walls and doors. We wanted to create a bedroom, bathroom, hallway, and separate staircase to the basement. This required some careful planning to maximize the available space.
With the basic structure in place, we scheduled the electrician and plumber to come in and do the rough-in work. The electrician installed the wiring for lights, outlets, and switches, while the plumber ran the supply and drain lines for the shower, sinks, and toilet. Both teams scheduled inspections for their respective rough-in work.
To save time and effort, we had a company come in and do spray foam insulation for the bedroom ceiling. Not only is spray foam incredibly effective, but there are also tax incentives available for using it. Craig then installed drywall on all the interior walls, using fiberglass insulation and Venetian plaster for a durable, odor-resistant finish.
Creating the Bathroom
The bathroom was one of the more challenging aspects of the project. Craig had to build the walls slightly out to accommodate the pre-purchased shower base, using cement board, stucco, and multiple layers of Venetian plaster to create a waterproof, seamless finish.
For the floor, Craig installed a layer of cement board over the plywood subfloor before tiling with a beautiful hand-painted Fireclay Tile and white grout. After the tiling was complete, Craig installed the vanity, sinks, toilet, and shower door.
Finishing Touches
With the major structural and functional elements in place, we moved on to the finishing touches. Craig primed and painted the ceiling, walls, trim, and doors. He then installed the pre-finished oak wood flooring, baseboards, and window trim.
The last step was installing the IKEA wardrobes in the bedroom. We carefully measured the space and used trim pieces to make them look a bit more custom. You can see the full process for that here.
The Final Result
The garage conversion to a bedroom and bathroom was the biggest project we had ever taken on. It was a lot of work, but the end result was well worth it. Not only did it add significant living space without expanding the footprint of the house, but it also increased the value of our home.
We absolutely love how the new space turned out. It’s bright, airy, and feels like a natural extension of the rest of our house. This experience has convinced us that we can take on a similar project in our Vermont home, which also has a garage we hope to convert into living space.
If you’re considering a garage conversion of your own, I hope our journey has shown you that it’s definitely possible – even for first-time DIYers like us. With careful planning, the right team, and a willingness to learn as you go, you can transform your unused garage into the perfect living space for your growing family.
Ready to get started on your own garage conversion project? Reach out to the experts at ABC Home & Renovations in Aberdeen, UK. Their team can guide you through every step of the process, from initial planning to final execution. Let’s create the extra living space you need!


