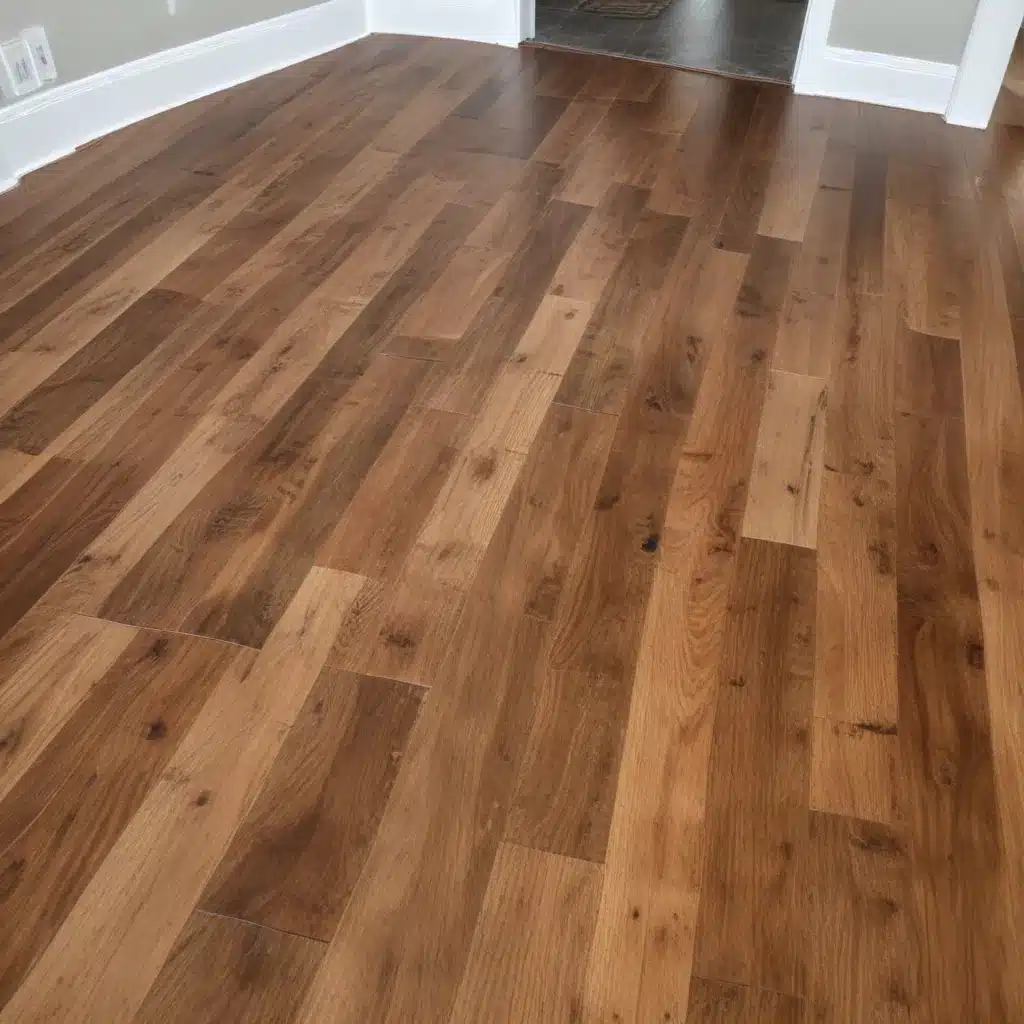
The Appeal of a Weekend Floor Refresh
As a seasoned home construction specialist, I’ve seen my fair share of flooring projects. There’s something incredibly satisfying about transforming a worn-out hardwood floor into a gleaming masterpiece over a single weekend. It’s a project that not only enhances the beauty of your home but also provides a sense of accomplishment that’s hard to match.
I remember the first time I tackled a hardwood floor refresh. It was in my own home, a charming 1920s bungalow with original oak floors that had seen better days. The thought of hiring professionals was tempting, but the DIY enthusiast in me couldn’t resist the challenge. Plus, the idea of saving a substantial amount of money was pretty appealing too.
Let me tell you, there’s nothing quite like the feeling of running your hand over a smooth, freshly finished hardwood floor that you’ve restored yourself. It’s a tactile reminder of your hard work and a visual feast that can completely transform a room. But before you jump in, it’s essential to understand what you’re getting into and how to approach the project for the best results.
Assessing Your Floor’s Condition
Before you even think about picking up a sander, it’s crucial to assess the current state of your hardwood floors. This step will determine the scope of your project and help you plan accordingly.
Start by giving your floor a thorough inspection. Look for deep scratches, gouges, or water damage. Check for any loose boards or areas where the wood has cupped or warped. These issues may require more extensive repairs before you can begin the refinishing process.
Next, consider the thickness of your hardwood. If you’ve got solid hardwood floors, you’re in luck – these can typically be sanded and refinished multiple times. However, if you’re dealing with engineered hardwood, you’ll need to be more cautious. Engineered floors have a thin veneer of hardwood over a plywood base, and they can usually only withstand one or two sandings in their lifetime.
Don’t forget to check for gaps between the boards. Small gaps are normal and can be filled during the refinishing process, but larger gaps might indicate more significant issues that need addressing before you start your weekend project.
Gathering Your Tools and Materials
Now that you’ve assessed your floor, it’s time to gather your arsenal of tools and materials. Trust me, being well-prepared will make your weekend project go much smoother.
Here’s a list of what you’ll typically need:
- Drum sander (rental)
- Edge sander (rental)
- Sandpaper in various grits (60, 80, 120)
- Dust mask and safety goggles
- Ear protection
- Vacuum cleaner
- Tack cloths
- Wood filler
- Putty knife
- Stain (if desired)
- Polyurethane finish
- Applicator pads or brushes
- Plastic sheeting to protect other areas
One tool that’s often overlooked but can be a game-changer is a good quality flexible spatula. This will come in handy when you’re applying wood filler to those pesky gaps and cracks.
Preparing the Room for Your Weekend Project
Before you start sanding, you’ll need to prep the room. This step is crucial not only for protecting your belongings but also for ensuring the best possible outcome for your floor refresh.
Start by removing all furniture from the room. If you can’t move everything out, at least clear as much space as possible. Next, remove any baseboards or trim that might get in the way of the sander. This will allow you to sand right up to the edges of the room for a more professional-looking finish.
Cover any remaining fixtures or furniture with plastic sheeting to protect them from dust. Trust me, sanding creates an incredible amount of dust, and you’ll be grateful for this precaution later.
Don’t forget to seal off the room from the rest of your house. Use plastic sheeting and painter’s tape to cover doorways and vents. This will prevent dust from spreading throughout your home.
Lastly, make sure you have good ventilation. Open windows if weather permits, and consider setting up fans to help circulate air. Not only will this help with dust control, but it’s also essential for your safety when working with finishes that release fumes.
The Sanding Process: Tips and Techniques
Now comes the heart of your hardwood floor refresh – sanding. This step can be intimidating, but with the right approach, you’ll be amazed at how quickly you can transform your floors.
Start with the drum sander. Begin with a coarse-grit sandpaper (usually 60 grit) and work your way up to finer grits. Always sand in the direction of the wood grain, and keep the sander moving to avoid creating divots or uneven areas.
Here’s a pro tip: overlap each pass by about 1/3 to ensure you’re sanding evenly across the entire floor. And remember, let the weight of the machine do the work – you don’t need to apply extra pressure.
Once you’ve finished with the drum sander, it’s time to tackle the edges and corners with the edge sander. This can be a bit tricky, so take your time and be patient. Again, start with a coarse grit and work your way up to finer grits.
After you’ve sanded the entire floor, vacuum thoroughly and wipe down with a tack cloth to remove all dust. This is crucial for achieving a smooth, professional-looking finish.


