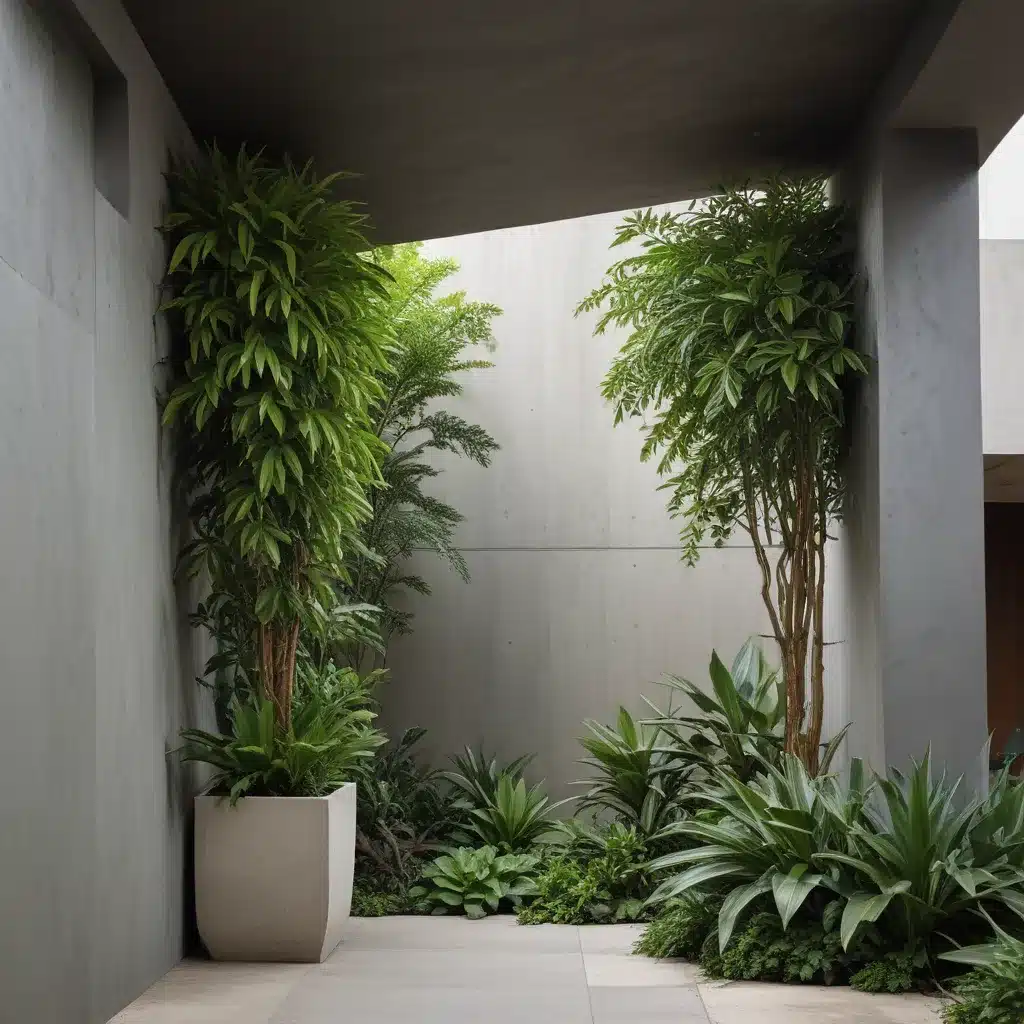
Softening the Hardscape with Architectural Plants
I’ll never forget the day I stood on the expansive deck surrounding our pool, surveying the harsh lines of the hardscape and knowing I had my work cut out for me. My mission was clear – to soften those rigid edges with the bold, architectural plants of my dreams. And let me tell you, I was up for the challenge.
As I scanned the scene, it was evident that the existing redwood containers were far too small and in dire need of replacement. But that wasn’t going to stop me. I’m the kind of gardener who thrives on a good challenge, so I dove right in, determined to transform this space into a tropical oasis.
My first order of business was to swap out those tired old redwood containers for some sturdy, large-scale concrete ones. Then, because I’m a sucker for a tropical aesthetic, I set out to select plants with bold, architectural shapes – think bananas, cannas, and dracaenas. And let me tell you, I packed those pots to the brim, creating bountiful, dramatic displays that spilled over with color and visual interest.
The Power of Architectural Plants
You see, I firmly believe that these big, bold, and leafy plants with their varied textures, colors, and habits are the true showstoppers of any container garden. My planting plans are always rooted in successful designs I’ve used in the past, but I’m always open to a little experimentation and serendipity. After all, isn’t that part of the fun?
Because I like my containers to be nothing short of abundant, I choose plants that I know will thrive in tight quarters. And when it comes to color, I try to select two or three complementary hues of flowering annuals that play nicely with the architectural plants at the heart of each display. I find that a limited palette is far more harmonious, and it makes my plant selection process a whole lot easier too.
In my tropical designs, I love to go for hot, vibrant colors. But I’ve also had fantastic results with monochromatic schemes and combinations that feature shades of purple and red, apricot and lavender, or orange, yellow, and white. The trickiest colors to work with, in my experience, are magenta and blue. But I’m always up for a challenge, so I’ll keep experimenting with those hues too.
The Ideal Container Setup
When it comes to container size, I find that the sweet spot is around 26 inches high and 30 inches across. And I’m a big fan of concrete pots – not only are they incredibly durable, but they also have this wonderful, sculptural quality that I can’t get enough of.
Now, one of the tricks I’ve learned over the years is to drill a couple of half-inch holes on each side of the container, about 4 inches up from the base, in addition to the standard drainage hole in the bottom. These unobtrusive little holes not only allow for better drainage, but they also create a handy water reservoir. If they ever get blocked, I just poke them with a bamboo stake to let the excess water drain out.
Because my containers are always packed to the brim with plants, the soil has a tendency to become root-bound. So each season, I start fresh with a mixture of compost, perlite, and a slow-release 14-14-14 granular fertilizer. Once the plants are in place, I make sure to keep them well-watered, either with a reliable automatic irrigation system or a trusty old hose. And to keep them thriving, I give them a weekly dose of liquid fertilizer and deadhead them regularly.
Designing for Success
To stay organized and learn from my experiments, I keep a detailed garden journal for each year’s container designs. I devote a full page to each planter, using a circle diagram to note the placement and name of every plant. I also attach a digital photo of the finished product, because let’s be honest – a picture is worth a thousand words.
When I first started container gardening, I was a bit overzealous, cramming in as many as 30 plants per pot. But over the years, I’ve found that fewer is often more, and I now tend to stick to around 18-20 plants per container. I’ve also learned that annuals sold in 4-inch square pots, rather than cell packs, are more likely to survive the crowded conditions, thanks to their more developed root systems.
I always arrange the plants so that the most prominent ones are facing the side of the container that will be on full display. And if I notice any underperformers, I don’t hesitate to pull them out and replace them. After all, I’m in this for the wow factor, and I’ll do whatever it takes to achieve that.
Planting Methods for Maximum Impact
When my design calls for a real showstopper of a core plant, I simply place it near the center of the pot and pack in as many supporting plants as possible. But when I’m working with a core plant that has a smaller base or trunk, I use a special planting method that I’ve been experimenting with for years.
This method gives the core plant more height and creates more planting area for me to cram in even more plants. It takes a bit of practice, but the results are always worth it – a lush, visually stunning display that’s sure to turn heads.
So there you have it, my friends – the secrets to softening the hardscape with bold, architectural plants. Whether you’re looking to create a stunning focal point, add some much-needed contrast, or simply inject a little year-round interest into your garden, these statement-making plants are the way to go.
Now, if you’ll excuse me, I’ve got some planting to do. After all, ABC Home & Garden isn’t going to transform itself! Happy gardening, everyone.


