Hanging Art: The Agony and the Ecstasy
Ah, the joys of decorating your home. That blank wall just begging for a stunning piece of artwork or a mirror to tie the room together. But the process of actually getting it up there? Sometimes it feels more akin to warfare than interior design. Crooked frames, uneven spacing, and the constant fear of putting a gaping hole in your freshly painted walls – it’s enough to make even the most seasoned DIYer want to throw in the towel (or the hammer, as it were).
But fear not, my friends! I’ve got a secret weapon up my sleeve – a series of clever hacks that will have your artwork and mirrors hanging with the precision of a surgeon and the flair of an artist. No more imperfect, off-kilter arrangements. Just perfectly positioned pieces that elevate your space and make you look like the interior design superhero you were always meant to be.
The Painter’s Tape Trick
Let’s start with a simple yet game-changing technique that’ll have your walls looking gallery-worthy in no time. It’s the painter’s tape trick, and it’s about to change the way you hang art forever.
As Sarah from Thrifty Decor Chick explains, all you need to do is cut a piece of painter’s tape the same width as your frame, then stick it to the wall where you want the top of the frame to go. Use a level to ensure it’s perfectly straight, then mark where your hangers are on the tape. Remove the tape, hammer in your nails, and voila – your artwork is guaranteed to be perfectly level, no guesswork required.
It’s such a brilliantly simple solution, and one that’s saved me from countless crooked, uneven art displays. No more stressing about whether that frame is just a teensy bit off – the painter’s tape ensures everything is aligned with precision. Plus, it works great for hanging multiple pieces too, helping you space them out evenly for a cohesive, gallery-inspired look.
The Perfect Frame Placement
But what about those pesky pre-installed hooks that never seem to line up quite right? You know the ones – you buy a gorgeous piece of art from HomeGoods or Target, only to find that the hooks on the back are completely off-kilter. Well, I’ve got a nifty trick for that too.
As Kristen from Thrifty Decor Chick suggests, the solution is to create a paper template for each frame. Cut a piece of paper the same size as the frame, then mark where the hooks are located. Tape the template to the wall, use a push pin or small nail to mark the spot, and voila – perfectly positioned nails or screws, even if the pre-installed hooks are totally off.
This trick is especially handy for heavier items like mirrors, where you really want to make sure the weight is evenly distributed. And if you’re feeling extra diligent, you can even use a level to ensure those nails are perfectly straight. Your walls will thank you, and your artwork will look like it was installed by a professional.
Mastering Mirror Hanging
Speaking of mirrors, let’s talk about the age-old struggle of getting those tricky suckers to hang just right. Whether it’s a massive statement piece or a delicate vanity mirror, mirrors can be notoriously difficult to wrangle.
One genius solution, as showcased in this video from House Becomes Home, is to use picture wire. Simply thread the wire through the hooks on the back of the mirror, then attach it to a single nail or screw in the wall. This not only ensures a secure, level hang, but it also gives you the flexibility to adjust the positioning as needed. No more struggling with multiple anchor points or worrying about the mirror shifting over time.
And for an extra touch of perfection, you can always employ that trusty painter’s tape trick again. Use it to mark out exactly where you want the mirror to go, then hang it up with confidence knowing it’ll be perfectly centered and level.
Hanging with Style
Of course, hanging art and mirrors is only half the battle. Once you’ve got them up, you want them to look absolutely stunning, right? Well, fear not – I’ve got a few styling tips up my sleeve to take your walls from “eh” to “oh wow!”
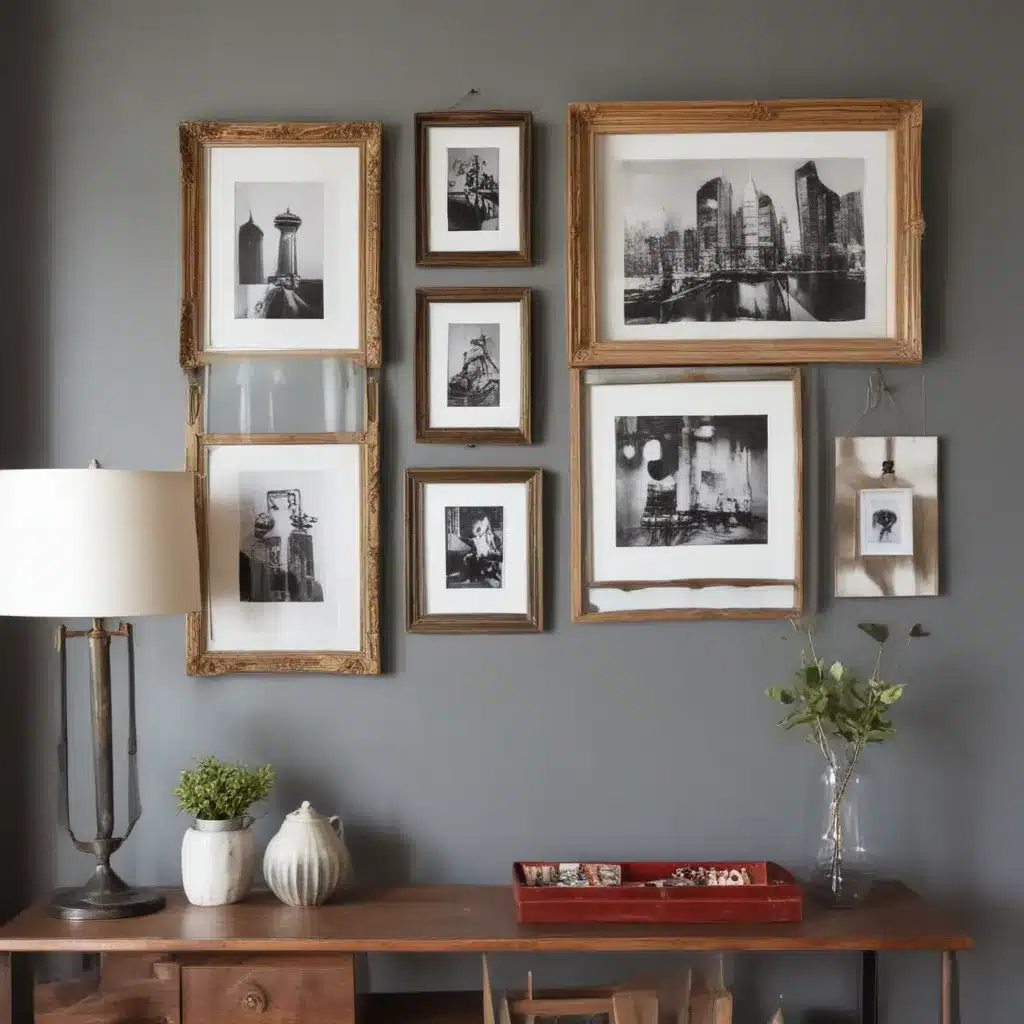
First and foremost, don’t be afraid to mix and match your frames. As this gorgeous Pinterest inspiration shows, a perfectly curated gallery wall can feature a variety of frame styles, sizes, and finishes. The key is to find a unifying element, whether it’s a consistent color palette or a shared aesthetic. This creates a cohesive, intentional look that’s far more visually interesting than a boring matchy-matchy arrangement.
And speaking of gallery walls, don’t be afraid to get creative with your layout. Forget the standard grid or linear arrangement – play with asymmetry, staggered levels, and unexpected placements to really make your artwork pop. The tips in this video from Amber Interiors are pure gold for crafting an eye-catching, high-impact display.
Finally, don’t forget about the supporting players. Mirrors, sconces, and other accent pieces can elevate your artwork to new heights, creating a beautifully styled vignette that ties the whole room together. Just take a look at the gorgeous examples on the ABC Home website – the way they’ve layered mirrors, lighting, and other decor elements creates a truly magazine-worthy look.
Hanging It All Together
There you have it, folks – a arsenal of clever hacks and styling tips to take your artwork and mirror displays to the next level. No more crooked frames, uneven spacing, or precarious hangs. Just perfectly positioned pieces that wow your guests and make your heart sing every time you walk into the room.
So what are you waiting for? Grab that painter’s tape, bust out your level, and get to hanging. Your walls are about to become the envy of the neighborhood.


