Reclaiming Your Closet’s Potential
When I first moved into my Aberdeen flat, I was thrilled to have a decent-sized walk-in closet. But as I started unpacking and trying to organize my belongings, I quickly realized that the stock shelving and rods just weren’t cutting it. My clothes were in disarray, my shoes were a jumbled mess, and I couldn’t find anything without playing a game of closet tetris. I knew I needed to find a better solution – one that would not only maximize storage but also give my space a personalized, high-end feel.
After scouring the internet for inspiration, I stumbled upon an incredible IKEA hack that completely changed my perspective on what was possible with a custom closet upgrade. The thoughtful attention to detail, the seamless integration of custom elements, and the stunning final result had me hooked. I knew I had to try something similar in my own home.
Designing a Functional and Fashionable Closet
The first step was to assess my storage needs. I pored over the IKEA Pax planner, carefully cataloging how much space I needed for hanging clothes, folded items, shoes, and accessories. This helped me determine the right combination of wardrobe units, drawers, and shelves to fit my lifestyle.
As I started sketching out my vision, I knew I wanted to create a truly custom look that would elevate the standard Pax system. I was drawn to the idea of built-in cabinetry with a cohesive, high-end aesthetic – think gleaming crown molding, recessed lighting, and seamless drawers. But I also wanted to maintain functionality and flexibility, without being bogged down by unnecessary doors or gimmicky storage accessories.
Hacking the IKEA Pax
With a clear plan in mind, I set out to transform my ho-hum closet into a showstopping space. The key was finding the right balance between IKEA’s modular system and custom touches that would make it look and feel truly bespoke.
I started by carefully measuring my closet dimensions and laying out the Pax units to maximize the available space. I opted for deeper 23-inch units on one side and shallower 13-inch units on the other, creating a generous 37-inch walkway in between. This allowed me to take full advantage of the storage potential while maintaining an airy, open feel.
Next, I got to work on the custom elements. Using poplar wood, I added vertical and horizontal trim pieces to the front of the Pax units, creating the illusion of built-in cabinetry. I also installed crown molding along the top to tie the whole look together. To tackle the dreaded Pax seam, I covered the back panels with a paintable wallpaper, seamlessly masking the telltale sign of an IKEA hack.
Erin Kestenbaum’s blog post on her own IKEA Pax closet transformation was a invaluable resource during this process. Her detailed step-by-step instructions and keen eye for design helped me navigate the challenges and achieve the polished, built-in look I was after.
Lighting and Hardware: The Finishing Touches
With the structural elements in place, it was time to focus on the details that would really make my closet shine. I installed recessed puck lights along the top shelves, creating a warm, inviting glow that illuminated the space. The process of routing the holes and wiring the lights was a bit fiddly, but the end result was well worth the effort.
For the hardware, I opted for heavy, unlacquered brass cup pulls that complemented the moody blue-green paint color I had selected. I also swapped out the standard IKEA hanging rods for stained wood versions, adding another layer of custom refinement.
A Seamless, High-End Aesthetic
The final step was painting everything – the Pax units, the custom trim, the drawers, the works. I followed Erin’s advice and used a shellac-based primer to ensure the paint would adhere perfectly to the IKEA laminate. A few coats of my chosen Farrow & Ball color, Inchyra Blue, and the transformation was complete.
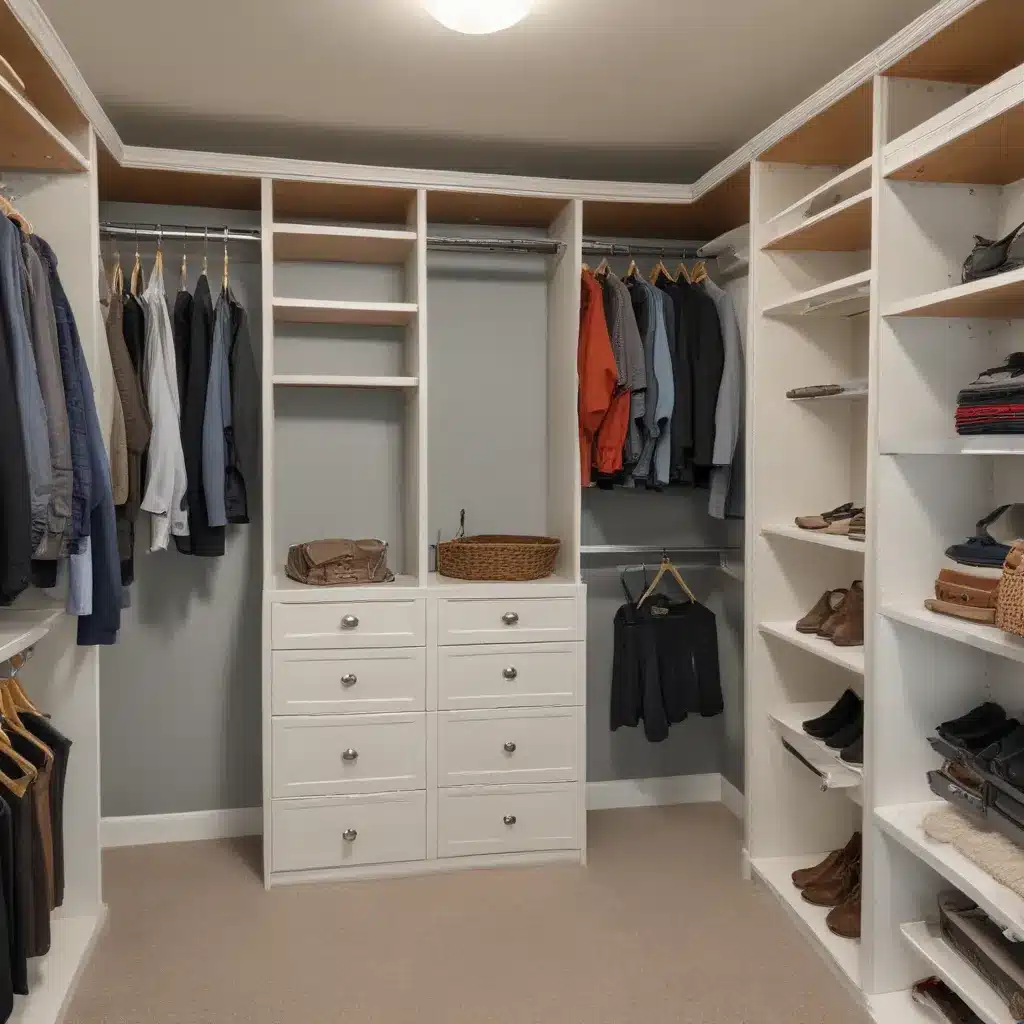
As I stepped back and admired the finished product, I was blown away by the difference. What was once a ho-hum, utilitarian closet had been elevated to a luxurious, built-in dream space. The seamless integration of custom elements and the cohesive, high-end aesthetic made it feel like it had been professionally designed, not hacked together.
Maximizing Storage and Functionality
But this closet wasn’t just about good looks – it was also incredibly functional. By carefully planning the layout and storage options, I was able to maximize every inch of space. The deep units on one side hold my hanging clothes and larger items, while the shallower units on the other side are perfect for folded sweaters, jeans, and accessories.
The custom drawers are a game-changer, providing ample storage for everything from socks and underwear to bags and jewelry. And the adjustable shelves give me the flexibility to rearrange as my needs change over time.
Overall, this closet renovation has been a complete game-changer for my day-to-day life. No more digging through piles of clothes or hunting for lost items – everything has a dedicated, accessible place. It’s a true oasis of organization and style, right in the heart of my Aberdeen home.
Invest in Your Space, Reap the Rewards
If you’re like me and struggling with a lackluster closet, I highly encourage you to consider a custom upgrade. Yes, it’s a bit of an investment upfront, but the long-term benefits are well worth it. Not only will you have a beautifully curated space that reflects your personal style, but you’ll also enjoy the peace of mind that comes with true organization and functionality.
And the best part? You don’t have to be a professional carpenter or designer to pull it off. With a little creativity, some elbow grease, and the right resources (like Erin’s blog post), you can transform your closet into a showstopping, custom-built sanctuary.
So what are you waiting for? It’s time to take your storage situation from ho-hum to high-end. Your wardrobe (and your sanity) will thank you.


