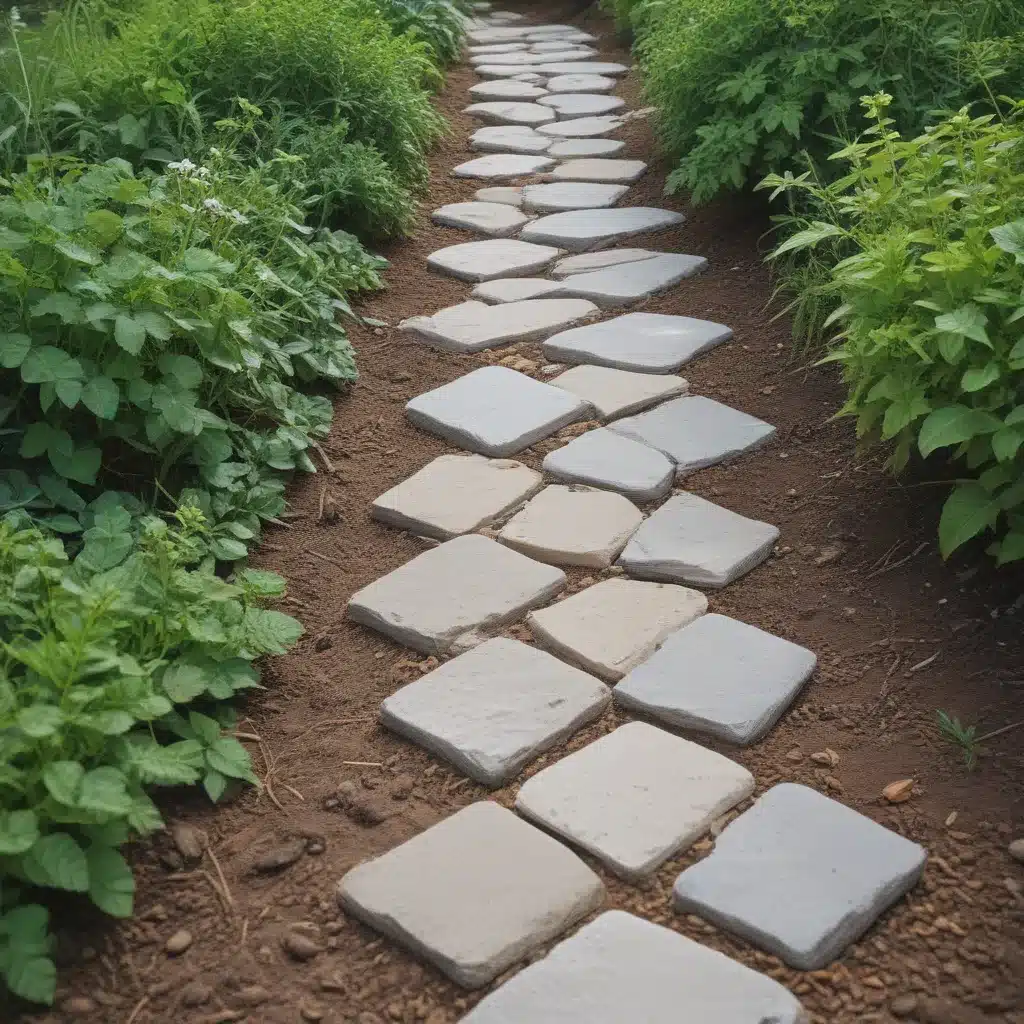
Stepping Into a Delightful Journey
Have you ever strolled through a picturesque garden, mesmerized by the winding paths that beckoned you to explore its hidden wonders? Well, my friends, the secret to creating that enchanting atmosphere in your own outdoor oasis lies in the power of DIY stepping stone paths. As the owner of ABC Home & Renovation, a building and renovation company in Aberdeen, UK, I’m here to share my firsthand experience and expert guidance on how you can transform your garden into a magical haven.
The Courtyard Path: A Welcoming Beginning
It all started when my wife and I purchased our charming home in an older Aberdeen neighborhood. The original path from the street to our front door was quite underwhelming – a plain, builder’s concrete special that felt cold and uninviting. I knew we had to change that, so I set out to create a welcoming courtyard-style path that would draw visitors in and set the tone for the garden adventure to come.
Taking inspiration from the mortared-limestone courtyard path I had seen in a beautiful cottage garden, I set to work. First, I used marking paint and a measuring tape to outline a 12-foot-diameter circle, with the front door as the focal point. Then, I hired a skilled stonemason to lay the path, creating a sense of enclosure and a feeling of stepping into a special, secluded space.
As the path took shape, I couldn’t help but marvel at how enormous it looked, as if it would swallow the entire small yard. However, once the surrounding garden started to take form, the path’s proportions felt just right, with plenty of room for lush plantings to soften the edges.
Guiding Visitors with Divided Pathways
With the courtyard-style path in place, I turned my attention to the next step: creating a divided walkway that would lead visitors from the street to our front door. I wanted to avoid the straight-shot approach, as that would have allowed visitors to gaze directly at the street and its less-than-picturesque elements, like cars and trash cans.
Instead, I opted for a divided path, with a container planting of Nolina texana serving as a focal point and slowing down the visitor’s journey. This added a sense of intrigue and anticipation, encouraging them to take their time and appreciate the garden’s beauty along the way.
Softening the Edges with Lush Plantings
As much as the path itself was crucial to the overall design, I knew that the surrounding plantings would be the true stars of the show. I incorporated Mexican feathergrass and damianita to soften the edges of the path, creating a sense of lushness and inviting visitors to explore further.
But that was just the beginning. Throughout the garden, I wove in a tapestry of diverse plant life, from towering trees to colorful perennials, all of which worked in harmony to create a truly enchanting atmosphere. As the Gardening Gone Wild community wisely pointed out, “paths and walkways are the bones of a garden” – but it’s the plants that breathe life into them, transforming a simple walkway into a verdant, captivating journey.
DIY Stepping Stone Paths: A Step-by-Step Guide
Now that you’ve seen the magic that can unfold with a thoughtfully designed garden path, you might be wondering, “How can I create that same enchantment in my own backyard?” Well, my friends, the answer lies in DIY stepping stone paths, and I’m here to walk you through the process step by step.
Choose Your Materials
The beauty of stepping stone paths is that they offer endless possibilities when it comes to materials. You can opt for classic flagstone, rustic stepping stones, or even repurposed items like old bricks or reclaimed wood. The key is to choose materials that complement the overall aesthetic of your garden.
Plan Your Layout
Just as I did with my courtyard path, start by sketching out your desired layout. Consider the flow of foot traffic, the focal points you want to highlight, and the overall shape and size of the path. Remember, the path doesn’t have to be a straight line – in fact, a meandering, curving design can add a delightful sense of mystery and discovery.
Prepare the Ground
Once you’ve got your plan in place, it’s time to prepare the ground. Clear away any existing grass or weeds, and level the soil to create a stable foundation for your stepping stones. You may want to consider using a weed-smothering material, like newspaper, to keep unwanted plants at bay.
Lay the Stones
Now comes the fun part – laying the stepping stones! Arrange them in your desired pattern, leaving a few inches of space between each one. This will allow you to fill the gaps with soil, gravel, or even low-growing plants, adding depth and texture to your creation.
Add the Finishing Touches
Once your stepping stones are in place, it’s time to bring your path to life. Consider using a polymer sand to fill the gaps, or opt for a more natural approach by planting low-growing groundcovers between the stones. Finally, surround your path with lush, vibrant plantings to create that enchanting, winding-through-the-garden effect.
Embrace the Journey
Creating a DIY stepping stone path may seem like a daunting task, but trust me, the rewards are well worth the effort. As you wind your way through your garden, pausing to admire the beauty that surrounds you, you’ll be reminded that the journey is just as important as the destination.
So, what are you waiting for? Grab your gardening gloves, gather your materials, and let’s embark on a delightful adventure – one step at a time.


