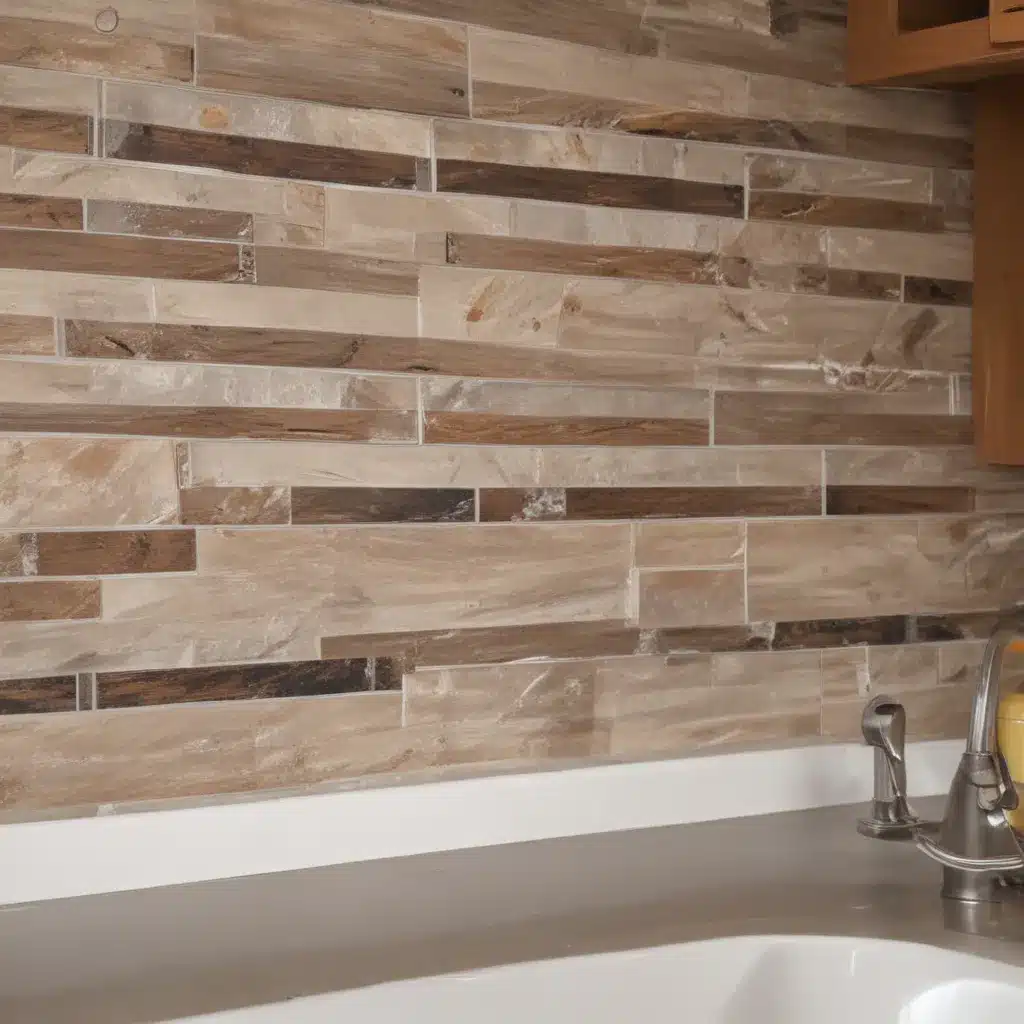
Transforming Your Kitchen with a Peel-and-Stick Backsplash
Ah, the kitchen – the heart of the home, where memories are made and culinary masterpieces are crafted. But let’s face it, sometimes our beloved kitchens can start to feel a bit… well, drab. If you’re looking for a quick and easy way to breathe new life into your cooking space, look no further than a peel-and-stick backsplash!
Now, I know what you’re thinking – “Peel-and-stick? Isn’t that just a cheap, temporary fix?” Well, my friend, prepare to be pleasantly surprised. These modern, adhesive-backed tiles are not only incredibly easy to install, but they can also transform the look and feel of your kitchen in a matter of hours.
The Benefits of Peel-and-Stick Backsplash Tiles
One of the biggest advantages of peel-and-stick backsplash tiles is the sheer convenience factor. Gone are the days of tediously measuring, cutting, and grouting traditional tile. With these bad boys, all you need is a sharp knife, a level, and a bit of patience. Simply peel off the backing, stick the tiles to the wall, and voila – instant kitchen makeover!
But the benefits don’t stop there. Peel-and-stick tiles are also incredibly durable and long-lasting, making them a fantastic option for high-traffic areas like the kitchen. According to Thrifty Decor Chick, these tiles are water-resistant and easy to clean, making them a practical choice for busy cooks.
Choosing the Right Peel-and-Stick Tiles
Of course, with so many options on the market, it can be a bit overwhelming to choose the perfect peel-and-stick tiles for your kitchen. That’s where a little research and inspiration come in handy.
Weekend Craft has a great guide on installing peel-and-stick glass tiles, which can add a touch of elegance to any kitchen. On the other hand, The Yellow Cape Cod swears by the Smart Tiles brand, touting their easy-to-clean and long-lasting qualities.
No matter which style you choose, be sure to measure your wall space carefully and order a few extra tiles to account for any mistakes or uneven surfaces. And don’t forget to consider the overall aesthetic of your kitchen – you want the backsplash to complement, not clash with, your existing decor.
The Installation Process
Alright, now that you’ve got your tiles picked out, it’s time to get to work! The beauty of peel-and-stick backsplashes is that the installation process is surprisingly straightforward, even for a DIY novice like myself.
According to My Homier Home, the key is to thoroughly clean and degloss the wall surface before you start. This will help ensure a strong, long-lasting bond. Once that’s done, simply peel off the backing, align the tiles, and press them firmly into place.
If you’re feeling extra ambitious, you can even cut the tiles to fit around outlets, corners, and other tricky spots. Just be sure to use a sharp utility knife and take your time – you don’t want any crooked or uneven edges!
The Final Reveal
And now, the moment you’ve been waiting for – the big reveal! After a quick weekend of work, your kitchen will be transformed, with a stunning, custom-looking backsplash that’s sure to impress your friends and family.
But don’t just take my word for it. Apartment Therapy has raved about the durability and renter-friendly nature of peel-and-stick backsplashes, making them a fantastic option for those of us who aren’t ready to commit to a full-scale kitchen renovation.
So what are you waiting for? Head on over to ABC Home & Renovation and start planning your peel-and-stick backsplash project today. Trust me, your kitchen (and your wallet) will thank you!


