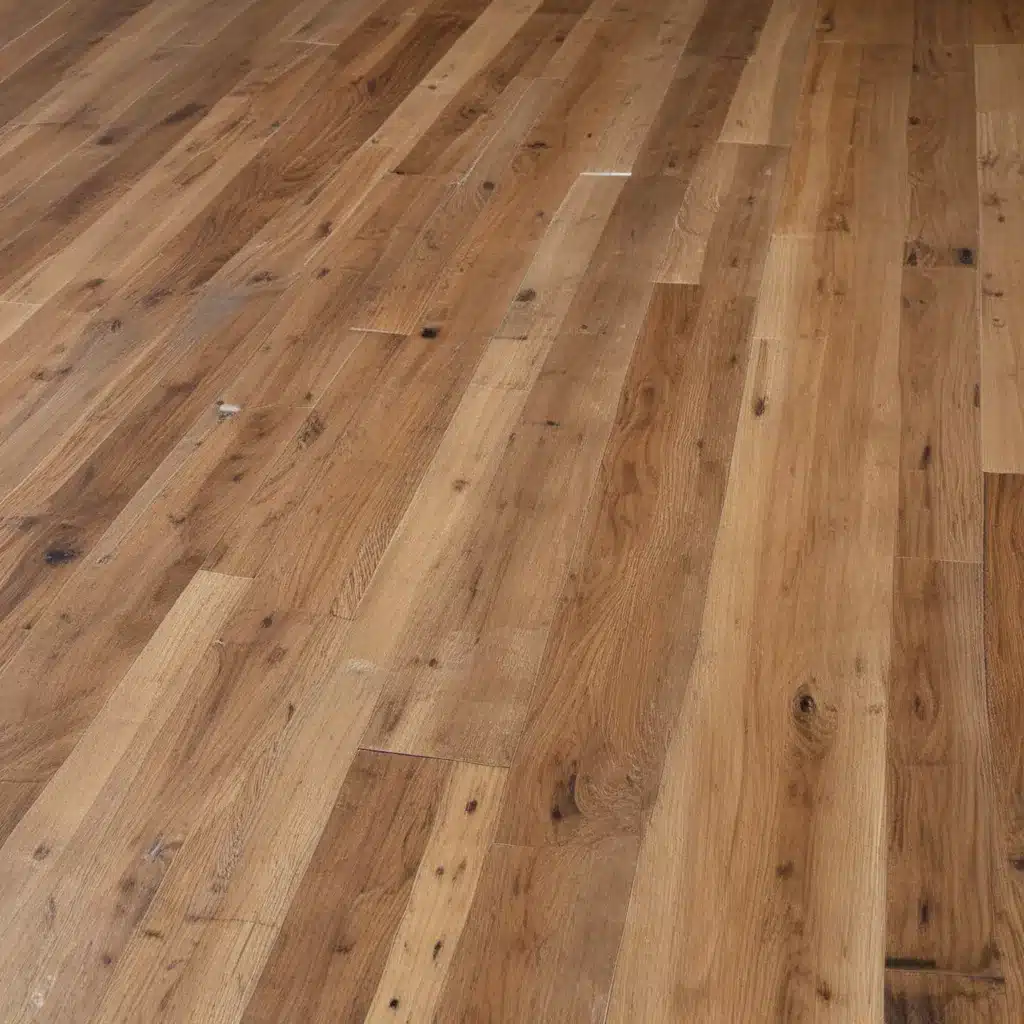
The Weekend Warrior’s Guide to Rejuvenating Your Hardwood
Are you a weekend warrior, always on the hunt for your next home improvement project? Well, gather your tools and get ready, because I’m about to share the ultimate guide to refreshing your wood floors over a single weekend.
As a self-proclaimed DIY enthusiast, I know firsthand the joy of transforming a tired, worn space into something fresh and fabulous. And let me tell you, refinishing your hardwood floors is one of the most impactful and satisfying projects you can tackle.
Now, I’ll be honest, I used to be a little intimidated by the idea of sanding and staining my floors. But after watching a few episodes of This Old House on YouTube, I realized it’s actually quite doable, even for a weekend warrior like myself. So, let’s dive in and uncover the secrets to giving your wood floors a whole new lease on life.
Prepping for Success
Before we get to the fun part, let’s talk about preparation. You know what they say – “measure twice, cut once.” The same principle applies here. Taking the time to properly prep your floors will ensure a seamless and professional-looking finish.
First things first, give those floors a good, deep clean. Use a mixture of warm water and white vinegar to remove any built-up dirt, grime, or residue. This will help the new stain or paint adhere evenly.
Next, it’s time to assess the condition of your floors. Are there any cracks, gaps, or damage that need to be addressed? Grab some Dr. Schutz X-tra Fill and a flexible spatula to fill in any small cracks or joints before you begin sanding.
Speaking of sanding, this is where the real magic happens. Rent a floor sander and start with a coarse grit to remove the existing finish. Work your way up to a finer grit, ensuring a smooth, even surface. And don’t forget to save that fresh sawdust – you’ll need it for the next step!
A Stain-ingly Good Transformation
Alright, now that your floors are prepped and ready, it’s time to add some color. This is where you can really let your creativity shine. Do you want to go for a classic, rich wood tone? Or maybe you’re feeling adventurous and want to try a bold, modern hue?
I personally opted for a gel stain in a warm, coffee-inspired shade to complement the existing character of my home. The great thing about gel stain is that it sits on top of the wood rather than penetrating, so it’s a super versatile option.
Start by applying the first coat with a brush, making sure to maintain a wet edge to avoid any visible lines. Once that’s dry, go in with a second coat to deepen the color and achieve the perfect look. And don’t forget to mix in that saved sawdust for an extra smooth, seamless finish.
Protecting Your Investment
Alright, the hard work is done, and your floors are looking better than ever. But we’re not quite finished yet. The final step is to seal and protect your investment with a durable topcoat.
I opted for a matte floor wax, which I found to be easier and faster to apply than a polyurethane finish. Plus, the wax gives your floors a beautiful, natural sheen that really makes the color pop.
Just be sure to let the wax cure for at least a week before subjecting your floors to heavy traffic. And don’t forget to give them a good buff with a lint-free cloth when you’re done – the results will be nothing short of stunning.
The Finishing Touches
Now that your floors are looking absolutely fabulous, it’s time to put the finishing touches on your weekend refresh. Rearrange your furniture, add some cozy rugs, and maybe even throw in a few new decorative touches to really make the space feel fresh and inviting.
And let’s not forget the most important part – enjoying your handiwork! Curl up on the sofa, kick your feet up, and admire your newly rejuvenated hardwood floors. Trust me, the sense of accomplishment you’ll feel is priceless.
So, what are you waiting for, fellow weekend warrior? Grab your tools, clear your schedule, and get ready to transform your space one step at a time. With a little elbow grease and a whole lot of enthusiasm, you can have your wood floors looking brand new in no time.
Happy renovating, my friends!


