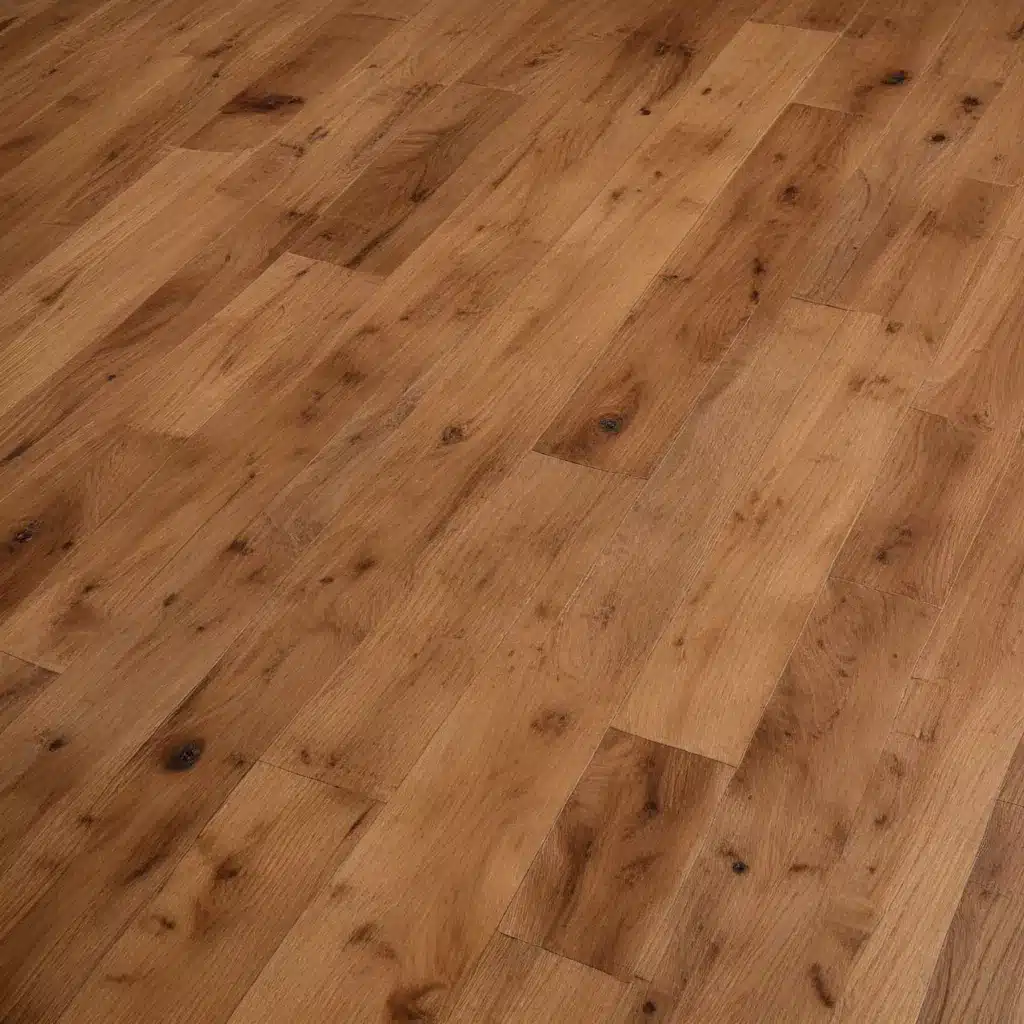
As a seasoned home construction specialist, I’ve seen my fair share of worn-out wood floors. There’s something about a well-loved hardwood surface that tells a story, but sometimes that story needs a fresh chapter. Today, I’m excited to share with you some of my tried-and-true methods for breathing new life into dated wood floors without breaking the bank or spending weeks on the project.
Understanding the Challenges of Aging Wood Floors
Wood floors face a multitude of challenges over time. From the constant foot traffic to the harsh rays of sunlight streaming through windows, these surfaces endure quite a beating. In my years of experience, I’ve observed several common issues that plague aging wood floors:
- Sun damage: Prolonged exposure to UV rays can fade and discolor wood, leaving some areas noticeably lighter than others.
- Moisture issues: Areas near doors or windows are particularly susceptible to water damage, which can cause warping or staining.
- Scratches and scuffs: Daily use, especially in high-traffic areas, inevitably leads to visible wear and tear.
These problems not only affect the appearance of your floors but can also compromise their integrity if left unaddressed. However, before you consider a full refinishing job, which can be costly and time-consuming, let’s explore some quicker solutions that can make a significant difference.
Quick-Fix Solutions for Worn Wood Floors
Assessing the Damage
Before diving into any restoration work, it’s crucial to assess the extent of the damage. In my practice, I always start with a thorough inspection of the floor. Here’s what I look for:
- Depth of scratches: Light surface scratches can often be addressed with simple treatments, while deeper gouges may require more intensive care.
- Consistency of wear: Is the wear evenly distributed, or are there specific problem areas?
- Signs of structural issues: Check for any boards that feel loose or sound hollow when tapped.
This assessment helps determine the most appropriate course of action. For floors with minor to moderate wear, I’ve found that a few simple techniques can work wonders.
Cleaning and Preparation
The first step in any wood floor revival is a proper cleaning. Here’s my go-to method:
- Sweep thoroughly to remove all loose debris.
- Use a specialized hardwood floor cleaner to remove dirt and grime.
- Allow the floor to dry completely before proceeding with any treatments.
This cleaning process serves two purposes: it immediately improves the appearance of the floor and prepares the surface for any treatments you’ll apply.
Reviving Wood with Oil and Vinegar
One of my favorite quick fixes for tired wood floors involves a simple mixture of oil and vinegar. This homemade solution can help restore moisture to dry wood and minimize the appearance of scratches. Here’s how I do it:
- Mix 3 parts oil (such as canola or olive oil) with 1 part white vinegar.
- Apply the mixture to the floor using a soft cloth, working in the direction of the wood grain.
- Allow the solution to sit for about 15 minutes, then wipe away any excess with a clean cloth.
This treatment can bring a remarkable shine to dull floors and help disguise minor imperfections. However, it’s important to note that this is a temporary fix and should not be relied upon for long-term floor maintenance.
Addressing Deeper Scratches
For scratches that are too deep to be masked by the oil and vinegar treatment, I turn to wood filler or putty. Here’s my process:
- Clean the scratched area thoroughly.
- Apply wood filler that matches the color of your floor.
- Once dry, sand the area lightly to blend with the surrounding wood.
- Apply a small amount of matching wood stain if necessary.
This method can effectively camouflage deeper scratches and restore a more uniform appearance to your floor.
Protecting Revitalized Floors
After applying these quick fixes, it’s essential to protect your newly refreshed floors. Here are some tips I always share with my clients:
- Use felt pads under furniture legs to prevent scratches.
- Place rugs in high-traffic areas to reduce wear.
- Clean spills immediately to prevent water damage.
- Maintain a consistent cleaning routine using appropriate hardwood floor cleaners.
By implementing these protective measures, you can extend the life of your quick-fix treatments and keep your floors looking their best for longer.
When to Consider Professional Refinishing
While these quick fixes can work wonders, there comes a point when professional refinishing becomes necessary. In my experience, here are some signs that it’s time to call in the experts:
- Deep gouges or scratches that penetrate the wood’s surface layer.
- Widespread discoloration that can’t be addressed with surface treatments.
- Warping or buckling of floorboards, which may indicate underlying structural issues.
Professional refinishing involves sanding down the top layer of wood and applying new stain and sealant. While more intensive and costly, it can completely transform severely damaged floors.
Embracing the Character of Aged Wood
As we wrap up our discussion on reviving dated wood floors, I want to emphasize that not all signs of age need to be erased. In fact, many homeowners appreciate the character that comes with well-worn wood. The key is finding a balance between preservation and restoration.
In my years working with historic homes, I’ve seen stunning examples of floors that tell a story through their patina. Sometimes, strategic restoration of high-traffic areas combined with careful preservation of less-worn sections can create a beautiful, lived-in look that’s both authentic and inviting.
Remember, the goal isn’t always to make your floors look brand new, but rather to enhance their natural beauty and ensure their longevity. With the right approach, you can breathe new life into your aged wood floors while still honoring their history.
For more expert advice on home construction and renovation, including tips on maintaining various types of flooring, visit ABC Home. Our team of specialists is always ready to help you make the most of your home’s features, both old and new.


