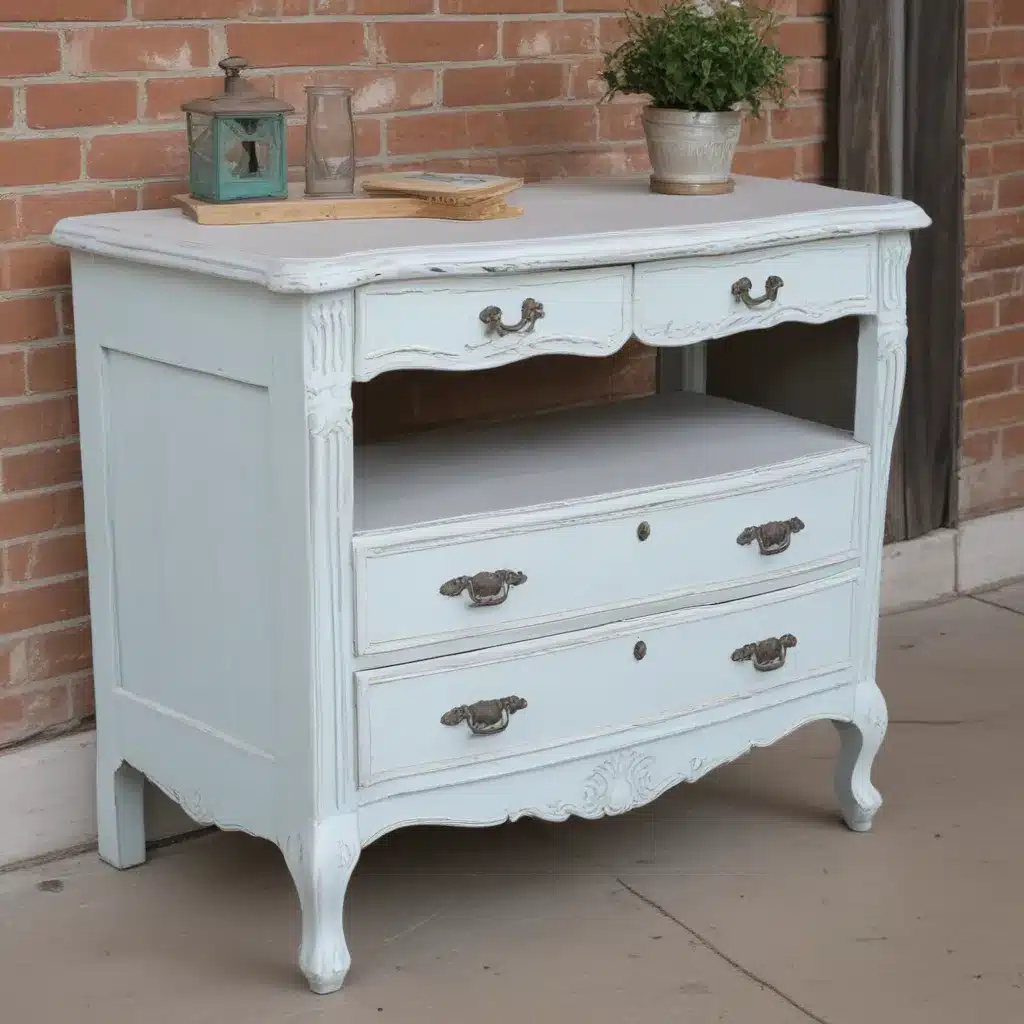
Breathe New Life Into Tired Furniture With Chalk Paint
As a recent transplant to the Aberdeen area, I’ve been on a mission to transform my new home into a cozy, personalized retreat. And let me tell you, one of the most satisfying projects I’ve tackled so far has been breathing new life into some old, tired furniture using the magic of chalk paint.
I stumbled upon chalk paint during my quest to revamp a boring, fold-out desk that had seen better days. The previous owner’s stain was dull and unappealing, and the surface was riddled with unsightly stains and gouges. But with a little elbow grease and the right chalk paint techniques, I was able to turn this drab desk into a stunning, custom-looking piece that fits seamlessly into my new decor.
Chalk Paint 101: The Basics
If you’re new to the world of chalk paint, let me break down the basics for you. Unlike traditional latex or oil-based paints, chalk paint has a unique matte finish that creates an instantly aged, vintage-inspired look on furniture and home decor. It goes on smoothly with minimal prep work, and the distressed, time-worn effect is achieved through strategic sanding rather than relying on the paint to chip and wear away on its own.
One of the best things about chalk paint is its versatility. You can use it on a wide variety of surfaces, from wood and metal to glass and even fabric. And the application process is refreshingly simple – no need for fancy equipment or expert-level painting skills. Just grab a good quality chalk paint, a brush, and a bit of patience, and you’re well on your way to transforming even the most tired-looking pieces.
Reviving My Desk with Chalk Paint
When I first laid eyes on that old desk, I’ll admit, I was a bit daunted by the task ahead. With its multitude of nooks, crannies, and fold-out mechanisms, it seemed like a challenging first project. But I was determined to give it a facelift, and chalk paint turned out to be the perfect medium for the job.
After a light sanding to rough up the surface and help the paint adhere, I got to work applying thin, even coats of Annie Sloan’s Chalk Paint in the color “Old White”. The paint dried incredibly fast, so I kept a spray bottle of water nearby to keep my brush and the paint itself from drying out too quickly. It was all about building up the layers gradually, allowing each coat to dry fully before moving on to the next.
Once I had the coverage I wanted, the real fun began – the distressing process. I used a fine-grit sandpaper to selectively wear down the paint in areas that would naturally see the most wear and tear, like the edges and corners. This revealed the original wood tone peeking through, creating that beautiful, time-worn look I was going for.
Sealing the Deal with Wax
With the painting and distressing complete, the final step was to seal the desk with a protective wax finish. I opted for a clear Minwax wax, which helped to deepen the color and impart a subtle, satin-like sheen. Applying the wax with a cheesecloth-wrapped applicator and then buffing it out with an old t-shirt was a satisfying, hands-on process that really brought the whole project together.
The result? A stunning, one-of-a-kind desk that looks like it could have been plucked straight out of a vintage shop. And the best part? I accomplished this transformation all on my own, with a little help from the magic of chalk paint. Now, whenever I sit down at my revived desk, I can’t help but feel a sense of pride and accomplishment.
Endless Possibilities with Chalk Paint
As I admire my freshly transformed desk, I can’t help but dream up all the other furniture pieces I could breathe new life into with chalk paint. Maybe an old dresser or a weathered side table? The possibilities are endless, and ABC Home & Renovation has all the supplies and guidance I need to tackle my next chalk paint project.
If you’re feeling inspired to revive some tired furniture in your own home, I highly recommend diving into the world of chalk paint. It’s a game-changer when it comes to breathing new life into old pieces, and the process is both rewarding and surprisingly simple. So grab a brush, pick out your favorite chalk paint color, and get ready to transform the mundane into the magnificent!
Chalk Paint Dos and Don’ts
As I’ve learned through my own chalk painting adventures, there are a few key dos and don’ts to keep in mind for the best results:
| Dos | Don’ts |
|---|---|
| Do apply thin, even coats of chalk paint | Don’t overdo the distressing – a little goes a long way |
| Do lightly sand between coats to create a smooth finish | Don’t paint intricate designs or patterns directly onto the furniture |
| Do wax the painted surface for added protection and sheen | Don’t skip the prep work – even a light sanding is crucial for adhesion |
| Do experiment with different techniques like sponging or dry brushing | Don’t use chalk paint on surfaces that will see heavy wear and tear without proper sealing |
With these guidelines in mind, you’ll be well on your way to chalk paint success and a whole new look for your tired furniture. So what are you waiting for? Grab those paintbrushes and get ready to revive!


