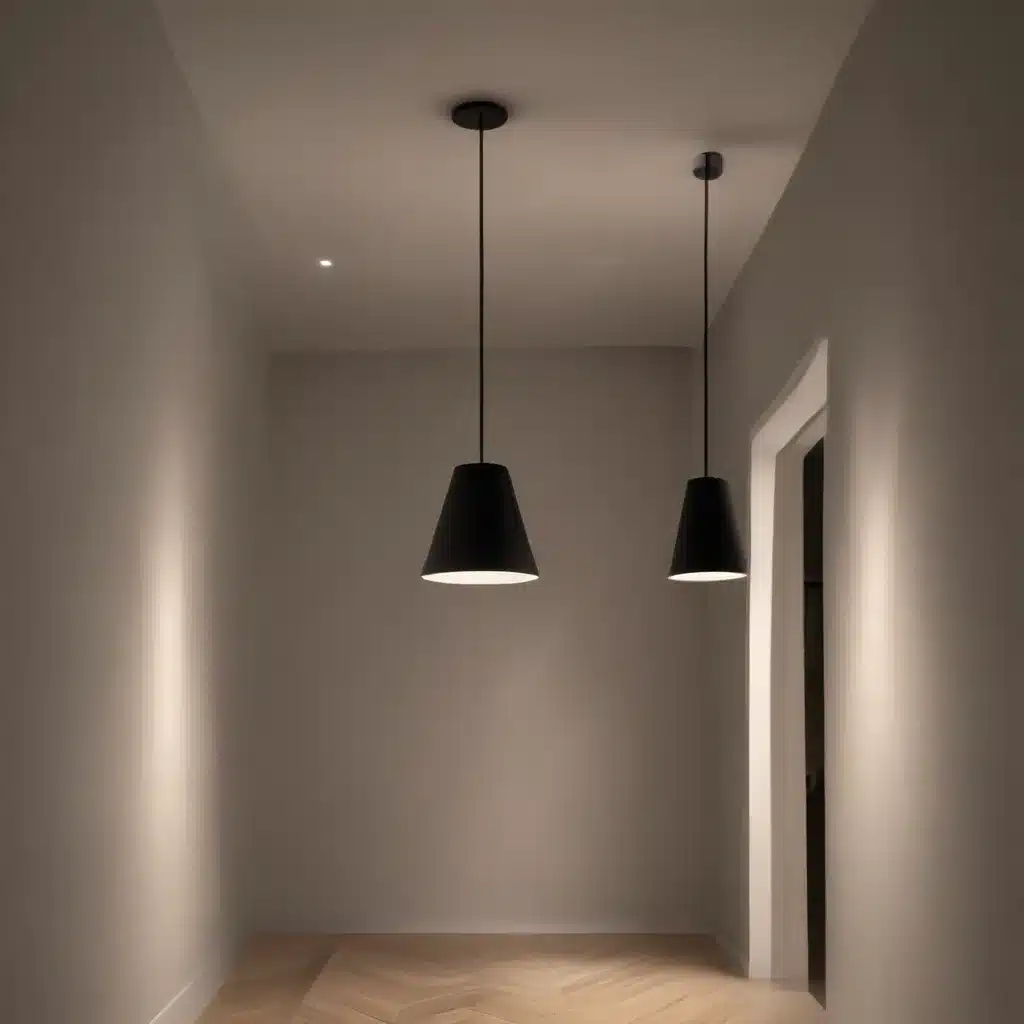
Illuminating the Extraordinary in the Ordinary
As a professional photographer, I’ve always been captivated by the interplay of light and shadow. There’s something so alluring about the way a single beam of light can transform the most mundane scene into something truly extraordinary. And when it comes to creating dramatic, cinematic portraits, I’ve found that less is often more.
Dramatic lighting doesn’t have to be complicated. In fact, some of my favorite setups involve just a handful of strategically placed lights. The key is understanding how to manipulate those light sources to sculpt the shadows and highlight your subject in all the right ways.
But don’t just take my word for it. Let me take you behind the scenes and show you how I create these captivating, high-contrast portraits. By the end, I think you’ll be surprised by just how simple – and effective – this approach can be.
Laying the Foundation: Mastering the Key Light
The cornerstone of any dramatic lighting setup is the key light. This is the primary source that illuminates your subject, and it’s crucial that you get it right. As portrait photographer Joe Edelman explains, the key light should be positioned at a 45-degree angle to your subject, angled across their face rather than directly in front.
This “Rembrandt lighting” technique creates beautiful, soft shadows that sculpt the contours of the face. But be careful not to overdo it – you don’t want one side of the face to disappear entirely into darkness. The key is finding that delicate balance between light and shadow.
In my own work, I often start by placing a single monolight or speedlight, fitted with a softbox or beauty dish, slightly above and to the side of my subject. I’ll then feather the light, angling it just enough so that the edge of the beam grazes their features. This helps create those gorgeous, graduated shadows without losing important details.
Once I’ve dialed in the key light, I’ll take a few test shots to evaluate the results. Is the lighting too harsh? Is one side of the face becoming too dark? I’ll make adjustments as needed, experimenting with the light’s angle and power output until I’m satisfied.
Accentuating the Drama with a Kicker Light
With the foundation laid, it’s time to start building on that dramatic lighting. Enter the kicker light – aBackLight that separates your subject from the background and adds an extra touch of cinematic flair.
As photographer Pete Coco explains, the kicker should be positioned behind your subject, pointed at an angle to graze the side of their face and shoulders. The goal is to create a subtle, wrapping strip of light that enhances the shadows and highlights without becoming the focal point.
In my own setups, I’ll typically use a small strip box or narrow beam reflector for the kicker. I’ll start with the light at a low power output, slowly increasing the intensity until I see those alluring, Hollywood-esque highlights begin to emerge. The key is to find that delicate balance – too much kick and you risk blowing out the details, but too little and you won’t get that captivating separation from the background.
Once I’ve fine-tuned the kicker, I’ll take another round of test shots. I’m looking for that perfect interplay of light and shadow, where the subject’s features are dramatically accentuated without becoming harsh or unnatural.
Adding the Final Touch: Finessing the Fill Light
With the key and kicker lights in place, it’s time to introduce the final piece of the puzzle: the fill light. This is the light that softens and fills in those deep shadows, ensuring your subject’s face is evenly illuminated without losing that all-important drama.
As Pete Coco notes, the amount of fill light you use is key to controlling the overall level of drama in your image. Too much, and you risk flattening out the lighting. Too little, and you’re left with harsh, unflattering shadows.
In my setup, I’ll typically position the fill light opposite the key, angling it so that just the edge of the beam hits my subject’s face. I’ll start with a very low power output and gradually increase it, taking test shots along the way to ensure I’m striking the right balance.
The great thing about this three-light system is that it offers a ton of flexibility. By adjusting the individual lights – shifting their position, altering the power output, even adding colored gels to the kicker – I can create a wide range of moods and looks. From high-contrast, noir-inspired portraits to softer, more glamorous beauty shots, the possibilities are endless.
Putting it All Together: Crafting the Final Image
With the key, kicker, and fill lights dialed in, it’s time to bring everything together and capture the final image. I’ll position my subject within the setup, coaching them to hold a thoughtful, engaging pose. Then it’s just a matter of fine-tuning the composition, adjusting the camera settings, and clicking the shutter.
The result? A captivating, high-drama portrait that stops viewers in their tracks. As the team at SLR Lounge demonstrates, even a simple, symmetrical architectural scene can be transformed into a cinematic masterpiece with the right lighting.
But the beauty of this approach is that it’s not limited to just portraits. I’ve used this same three-light setup to capture everything from moody landscapes to dynamic product shots. The key is understanding how to harness the power of light and shadow to guide the viewer’s eye and evoke a specific mood or emotion.
So if you’re looking to elevate your photography and create images that truly stand out, I encourage you to experiment with these simple yet dramatic lighting techniques. With a little practice and a keen eye for detail, you’ll be crafting captivating, Hollywood-worthy shots in no time.


