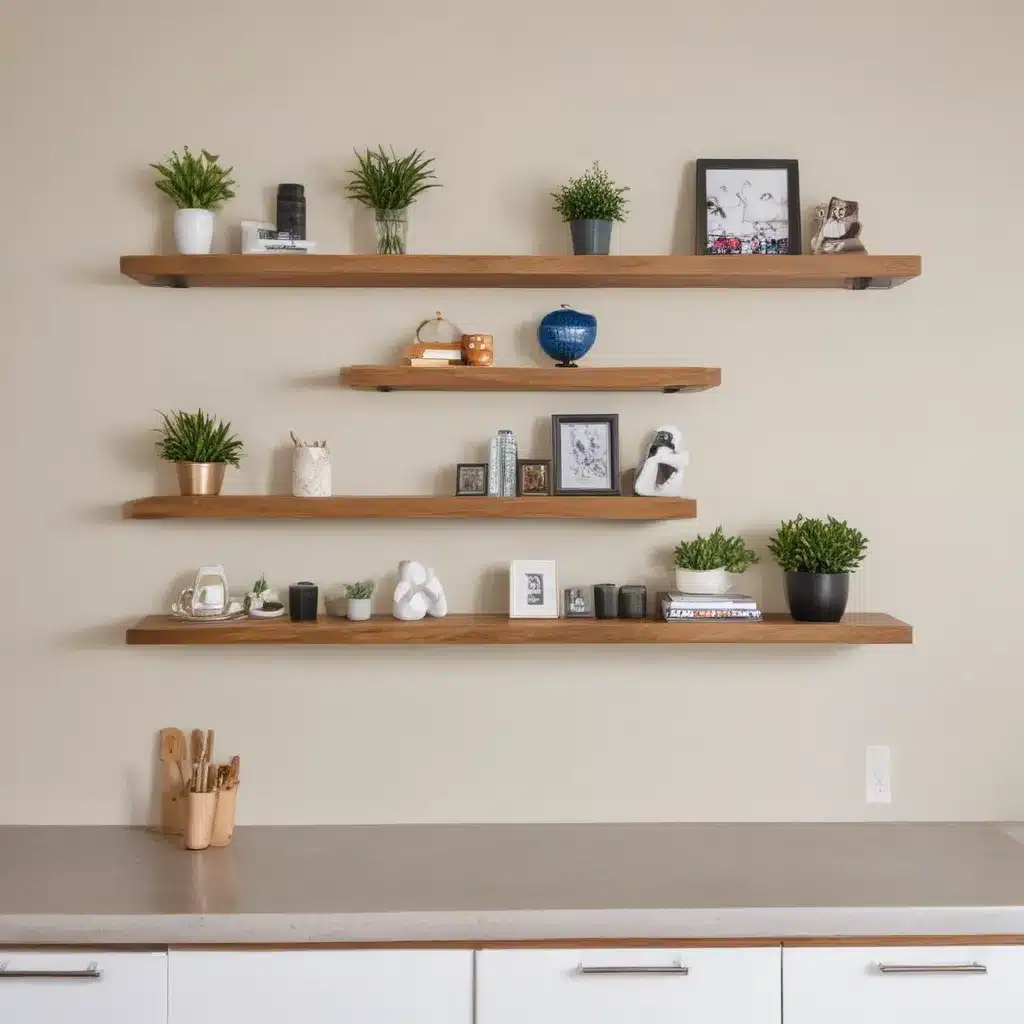
Utilize Wall Space With Floating Shelves
Ah, the never-ending battle against clutter – a war I’ve waged in my own home for years. Just when I think I’ve got it all sorted, another pile of stuff magically appears, ready to overtake any available surface. But friends, I’ve discovered a secret weapon in my quest for organization: floating shelves.
Now, I know what you might be thinking – “Floating shelves? Isn’t that just a fancy way of saying ‘shelves that aren’t attached to the wall?’” Well, yes and no. Sure, the concept is similar, but these bad boys are no ordinary shelves. They’re strong, sturdy, and oh-so-stylish, transforming empty wall space into functional storage that’s equal parts practical and Pinterest-worthy.
The team at Yellow Brick Home has an amazing tutorial that walks you through the process of building your own wall-to-wall floating shelves, and let me tell you, it’s a game-changer. I’m talking heavy-duty, can-hold-all-the-things kind of shelves that’ll make your workshop (or any room, really) feel infinitely more organized and inviting.
The Floating Shelf Dilemma
Before tackling this project, our workshop was a disaster zone. Tools and materials were scattered everywhere, buried under a mountain of random odds and ends. It was pure chaos, and I’ll admit, I was at my wits’ end trying to keep it all under control.
But then, inspiration struck. I stumbled upon the Yellow Brick Home tutorial and knew I had to give it a try. The idea of transforming our bare walls into a functional, customizable storage system was too good to pass up. So, with measuring tape and power tools in hand, I set out to conquer the clutter once and for all.
Building the Shelves
The first step? Planning, planning, and more planning. We needed to determine exactly what we wanted to store, how much space we had to work with, and the ideal shelf dimensions. After countless measurements and calculations, we had our game plan.
Next came the fun part – the actual building. Following the Yellow Brick Home instructions, we constructed a sturdy, ladder-like frame out of 2x4s, carefully securing it to the wall and ensuring it was level. Then, it was time for the plywood shelves – cut to size, stained to perfection, and seamlessly integrated into the frame.
But the real showstopper? The 4-inch aspen wood planks we used to create the front edges. Talk about an elevated touch! These beauties not only added a touch of rustic charm but also helped to conceal the supporting structure for a truly “floating” look.
Transforming the Space
I’ll admit, I was a little skeptical at first – would these shelves really be able to handle all the stuff we needed to store? But let me tell you, they exceeded my expectations in the most delightful way.
Once the shelves were up and ready, we started loading them up with all our workshop essentials – power tools, paint cans, adhesives, and more. And you know what? They. Didn’t. Budge. These shelves are sturdy, strong, and built to last, providing the perfect solution to our storage woes.
But the best part? The transformation of our once-chaotic workshop. Gone are the days of tripping over boxes and digging through piles to find what we need. Now, everything has a dedicated home, neatly displayed and easily accessible. It’s like a whole new world, and I can’t help but marvel at how much more functional and inviting the space feels.
The Takeaway
If you’re drowning in clutter and searching for a way to maximize your wall space, I can’t recommend floating shelves enough. Not only are they incredibly practical, but they also add a touch of style and personality to any room. And with a step-by-step guide like the one from Yellow Brick Home, the project is surprisingly straightforward, even for the most novice DIYer.
So why not give it a try? Breathe new life into your home by utilizing that empty wall space and saying goodbye to the clutter for good. Trust me, your future self will thank you. And who knows, you might even find yourself with a newfound love for organization (or at least a deep appreciation for it).
Now, if you’ll excuse me, I’ve got some shelves to style. After all, a little decor never hurt anyone, right? Happy building, my friends!


