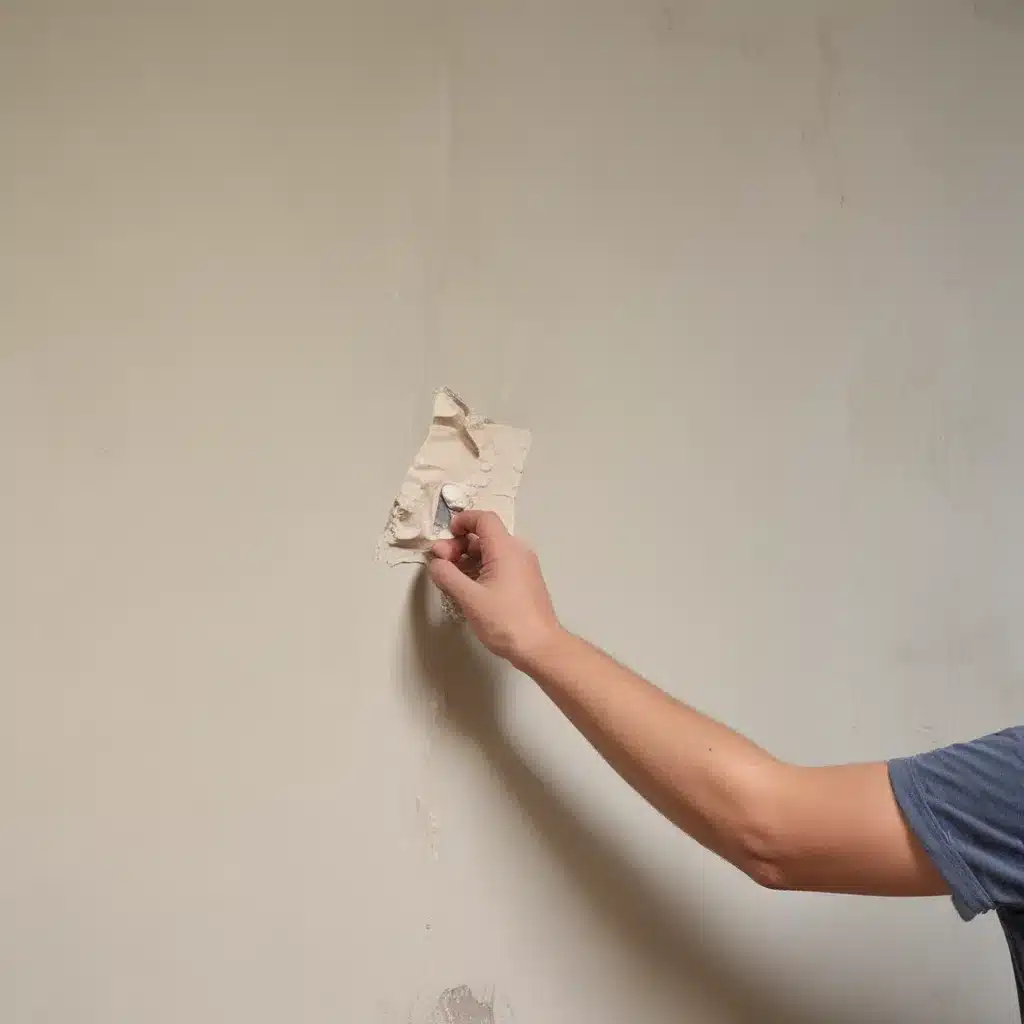
Plaster Panic: Tackling Tarnished Walls with Confidence
Ahh, the joys of home ownership – where every wall, nook, and cranny becomes a canvas for our DIY dreams. And let’s be honest, when it comes to plaster repairs, we’ve all been there. That unsightly crack slowly spreading like a spider’s web, or the dreaded dent from a rogue door handle. It’s enough to make even the most seasoned DIYer throw in the towel.
But fear not, my fellow decorating enthusiasts! I’m here to guide you through the perils of plaster with a smile on my face and a trowel in my hand. As the in-house plaster expert at ABC Home, a leading building and renovation company in Aberdeen, UK, I’ve seen it all. And let me tell you, fixing those damaged walls is a lot easier than you might think.
The Plaster Predicament: Diagnosing the Damage
Before we dive into the nitty-gritty of plaster repair, it’s crucial to understand the nature of the beast. Plaster, that unsung hero of wall construction, can be a fickle friend. It’s susceptible to cracks, crumbling, and even the occasional hole-punch from an over-enthusiastic picture-hanging session.
As the experts at TrueValue suggest, the first step in any plaster repair is to identify the root cause of the problem. Is it a structural issue, like a shifting foundation? Or is it simply a case of age and wear and tear? Knowing the culprit will help you choose the right repair method and ensure the problem doesn’t come back to haunt you.
Once you’ve pinpointed the problem, it’s time to assess the damage. Is it a small crack, a larger hole, or something in between? The size and scope of the repair will determine the tools and materials you’ll need, so take a good, hard look at that wall and get ready to roll up your sleeves.
The Plaster Playbook: Mastering the Repair Process
Alright, let’s get down to business. According to the experts at TrueValue, the key to successful plaster repair is all about proper preparation. Start by clearing the area around the damage, removing any loose debris or crumbling plaster. This will give you a clean, solid surface to work with.
Next, it’s time to mix up your plaster. Now, I know what you’re thinking – “Plaster? Mixing? Sounds like a recipe for disaster!” But fear not, my friends. With a little practice, you’ll be a plaster-mixing pro in no time. As the helpful folks at Change Store demonstrate, it’s all about getting the consistency just right – not too thin, not too thick.
Once your plaster is ready, it’s time to get to work. For smaller cracks and holes, you can use a putty knife or drywall knife to gently fill and smooth the surface. For larger areas, you may need to build up the plaster in layers, letting each one dry completely before moving on to the next.
And let’s not forget the importance of proper drying time. As the team at Blake Hill House suggests, patience is key when it comes to plaster repairs. Rush the process, and you might end up with a lumpy, uneven finish. Take your time, let the plaster fully cure, and you’ll be rewarded with a smooth, seamless wall that’s ready for the next stage of your decorating journey.
The Plaster Payoff: Achieving a Flawless Finish
Alright, now that the hard work is done, it’s time for the fun part – making that freshly repaired wall look like a million bucks. As the experts at This Old House demonstrate, the key to a flawless finish is all about proper sanding and priming.
Start by lightly sanding the repaired area, taking care not to overdo it and create more damage. Then, give the surface a good wipe-down to remove any dust or debris. Next, it’s time to prime. A high-quality primer will help the new paint or wallpaper adhere seamlessly, creating a smooth, uniform appearance.
And speaking of paint and wallpaper, the options are endless! Whether you’re going for a bold, statement-making color or a classic, timeless look, the choice is yours. Just be sure to take your time and apply the new finish with care, and you’ll be rewarded with a wall that looks like it was never damaged in the first place.
So, there you have it, my fellow DIY enthusiasts – the secrets to tackling those pesky plaster problems, straight from the experts at ABC Home. With a little elbow grease and a whole lot of patience, you’ll be well on your way to transforming those damaged walls into a work of art. Happy repairing!


