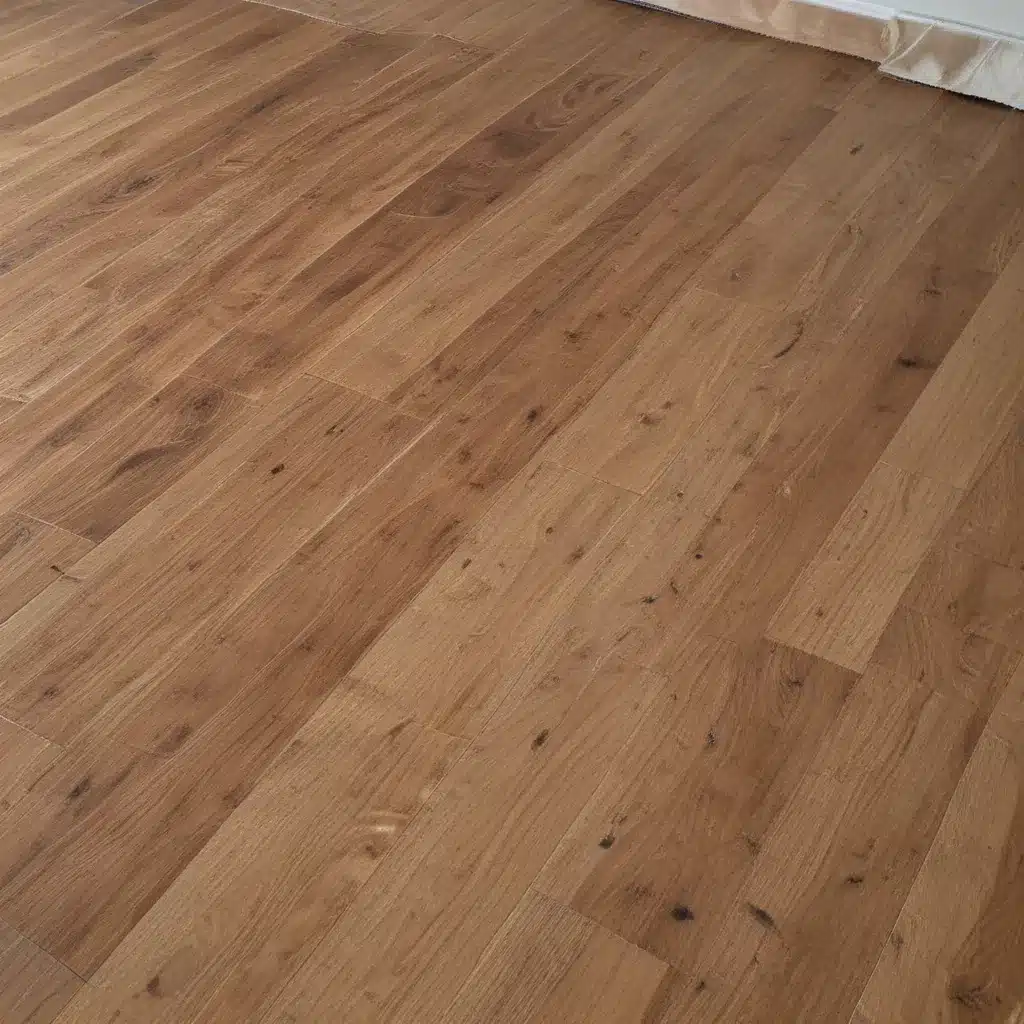
Have you ever looked down at your once-gleaming hardwood floors only to cringe at their dull, scratched, and discolored appearance? Trust me, I’ve been there. As a proud homeowner in Aberdeen, UK, I know the struggle of keeping those beautiful wood planks looking their best. But the thought of going through a full-blown refinishing process – with all the dust, mess, and expense – is enough to make anyone want to throw in the towel.
Luckily, I’ve discovered some clever tricks that can help refresh your wood floors without having to refinish them. And let me tell you, the results are nothing short of transformative. So, grab a cup of tea and get ready to breathe new life into your hardwood – no sanding required!
Assess the Damage
Before we dive in, it’s important to take a good, hard look at the condition of your floors. After all, not every solution works for every problem. If your floors are severely damaged, with deep scratches, gouges, or even water stains, a full refinishing may still be the best option. But if you’re dealing with more minor issues like dullness, light scratches, or just general wear and tear, there are some fantastic alternatives.
According to the experts at Homes & Gardens, “If the floor has visible dents, wear patterns or permanent cupping, recoating may not be a viable solution, and a full sand down may be your only option to restore the finish.” But if the damage is more superficial, we’ve got you covered.
Clean and Prep
The first step in any wood floor revival is to get that surface as clean as possible. Carpenter Matt Hagens explains, “One of the first steps in restoring hardwood floors without sanding is to thoroughly clean the surface. This can be done by using a mild detergent and water, or a specialized hardwood floor cleaner.”
Be sure to remove any dirt, dust, or grime that may have built up over time. This will not only brighten the color of the wood but also make it easier to assess the existing damage and apply any necessary treatments. And don’t forget to vacuum or sweep up those pesky crumbs and debris before you get started – you want a clean slate to work with.
Tackle Those Scratches
Next up, let’s deal with those unsightly scratches. For light, surface-level scratches, Matt Hagens suggests applying a simple coat of wax to fill them in. This is a quick and easy fix that can make a noticeable difference.
But what about those deeper, more stubborn scratches? “For deeper scratches,” Hagens advises, “a wood filler can be used to fill in the area and then sanded down until it is flush with the surrounding wood.” This requires a bit more elbow grease, but it’s a great way to smooth out those problem areas without having to refinish the entire floor.
Buff and Polish
Now that your floors are clean and any scratches have been addressed, it’s time to bring back that gorgeous shine. Hagens recommends using a hardwood floor polish or a specialized buffing machine to get the job done. “The key is to use a light touch and to work in small sections at a time. This will help to distribute the polish evenly and prevent any buildup of excess material.”
And don’t be afraid to put a little elbow grease into it! Buffing and polishing by hand can be incredibly satisfying, not to mention a great workout. Just be sure to follow the manufacturer’s instructions and take your time to ensure an even, streak-free finish.
Maintain and Protect
Of course, the real key to keeping your wood floors looking their best is regular maintenance and protection. According to the experts at the National Wood Flooring Association, “Routine maintenance should be all you need with wood floors – daily sweeping, vacuuming on the bare floor setting about once per week and using a damp mop with the right cleaning product monthly.”
But be cautious when it comes to the products you use. As the NWFA’s Brett Miller warns, “Cleaning products that may be problematic often include descriptive terms such as ‘refreshes, restores, rejuvenates, polishes, renews, renovates, shines…’ These terms are indicative of adding something foreign to the surface of the floor, which means these products may interfere with a new topcoat adhering.”
Instead, stick to wood floor cleaners recommended by the manufacturer, and be sure to use a mop that’s just slightly dampened to avoid excess moisture. And don’t even think about breaking out the steam mop – the NWFA cautions that the steam can actually damage the wood and finish.
Embrace Imperfections
At the end of the day, it’s important to remember that even the most well-maintained hardwood floors will show some signs of wear and tear over time. And you know what? That’s perfectly okay. In fact, I’ve come to embrace those little imperfections as part of the character and charm of my home.
Sure, I still love the look of gleaming, pristine floors. But I’ve learned that a little bit of “lived-in” patina can add warmth and personality to a space. And by focusing on simple, cost-effective ways to refresh my wood floors without a full-blown refinishing, I can keep that timeless look I love without breaking the bank or disrupting my daily life.
So, fellow Aberdeen homeowners, don’t be afraid to roll up your sleeves and give your wood floors a little TLC. With a little elbow grease and some smart maintenance, you can keep those floors looking their absolute best for years to come. And who knows, you might just discover a newfound appreciation for the beauty of a well-loved, well-cared-for hardwood floor.
Now, if you’ll excuse me, I’ve got some polishing to do. Happy refreshing!


